grace.pink
Set Yourself (and vim) Up For Success
February 7th, 2024
Update: February 7th, 2025
Ok so I messed up with testing and didn't realize that ALE was using my clang-tidy configs from a file so if you want to use the eastwood linter, you will need to run the following command:
echo 'Checks: "-*,eastwood*"
WarningsAsErrors: ""
HeaderFilterRegex: ".*"
FormatStyle: "file"' > ~/cs240/.clang-tidy
If you do this, the eastwood linter should work. Sorry for the mistake and if you run into any issues, please contact me on discord (username: qyvo).
I have a crazy hypothetical here. Lets say that you are signed up for a C programming class that requires you to work on a remote Linux server set up by your professor. You can try to use VSCode with the Remote - SSH extension, but it eats up disk space and you ony have a 5 GB quota before things stop working. This leaves you with two options - use vim or emacs. You haven't fully lost your mind yet so you use vim. But it's hard to use and doesn't have all of the creature comforts that you are used to in VSCode.
If you find yourself in this situation, you are in the right place. Here, you will be able to set up vim just the way you like it and have it be much nicer and fun to use.
Before we start, a few things
I don't really want to spend all the time to set everything up and just want a proper working vim config. Can you just give me one?
Yeah, sure. You can use the config that I use if you want to. It is available on my github page and can be installed on data with the following command:
curl -s https://raw.githubusercontent.com/gyoder/.vim/master/install.sh | bash

# if you are doing this on purdue data use this command
curl -s https://raw.githubusercontent.com/gyoder/.vim/master/data_install.sh | bash
This will give you clangd and neovim too. Just run nvim instead of vim and you
are all good!
I just want the eastwood linter
Go ahead and skip to that section!
Wait how do I use vim?
I recommend checking out this site. Even if you can already kinda use vim, check it out to learn some advanced techniques.
Neovim? What's that?
Neovim is the cooler cousin of vim. It is a fork and is better supported with a few extra features (Language Server Client, Lua support, etc). I recommend checking it out.
Installing Neovim
Going forward I will be assuming you are using neovim, you can use regular vim if you really want to but I recommend using neovim.
If you are on your own machine, instalation is easy. Just use whatever package manager you like. If you are on a shared machine (like the purdue data server), then you will need to download the release from their github and add it to your path.
You can do this with the following commands if you are ok with it potentially being out of date by the time you read this.
# download the release
wget -O $HOME/nvim.tar.gz \
  https://github.com/neovim/neovim/releases/download/nightly/nvim-linux-x86_64.tar.gz
tar -xvf $HOME/nvim.tar.gz -C $HOME # untar it
mv $HOME/nvim-linux-x86_64 $HOME/nvim # put it into the right folder
rm -rf $HOME/nvim.tar.gz # remove the tar file
echo 'export PATH="$HOME/nvim/bin:$PATH"' >> $HOME/.bashrc # add it to your path
source $HOME/.bashrc # reload your bashrc
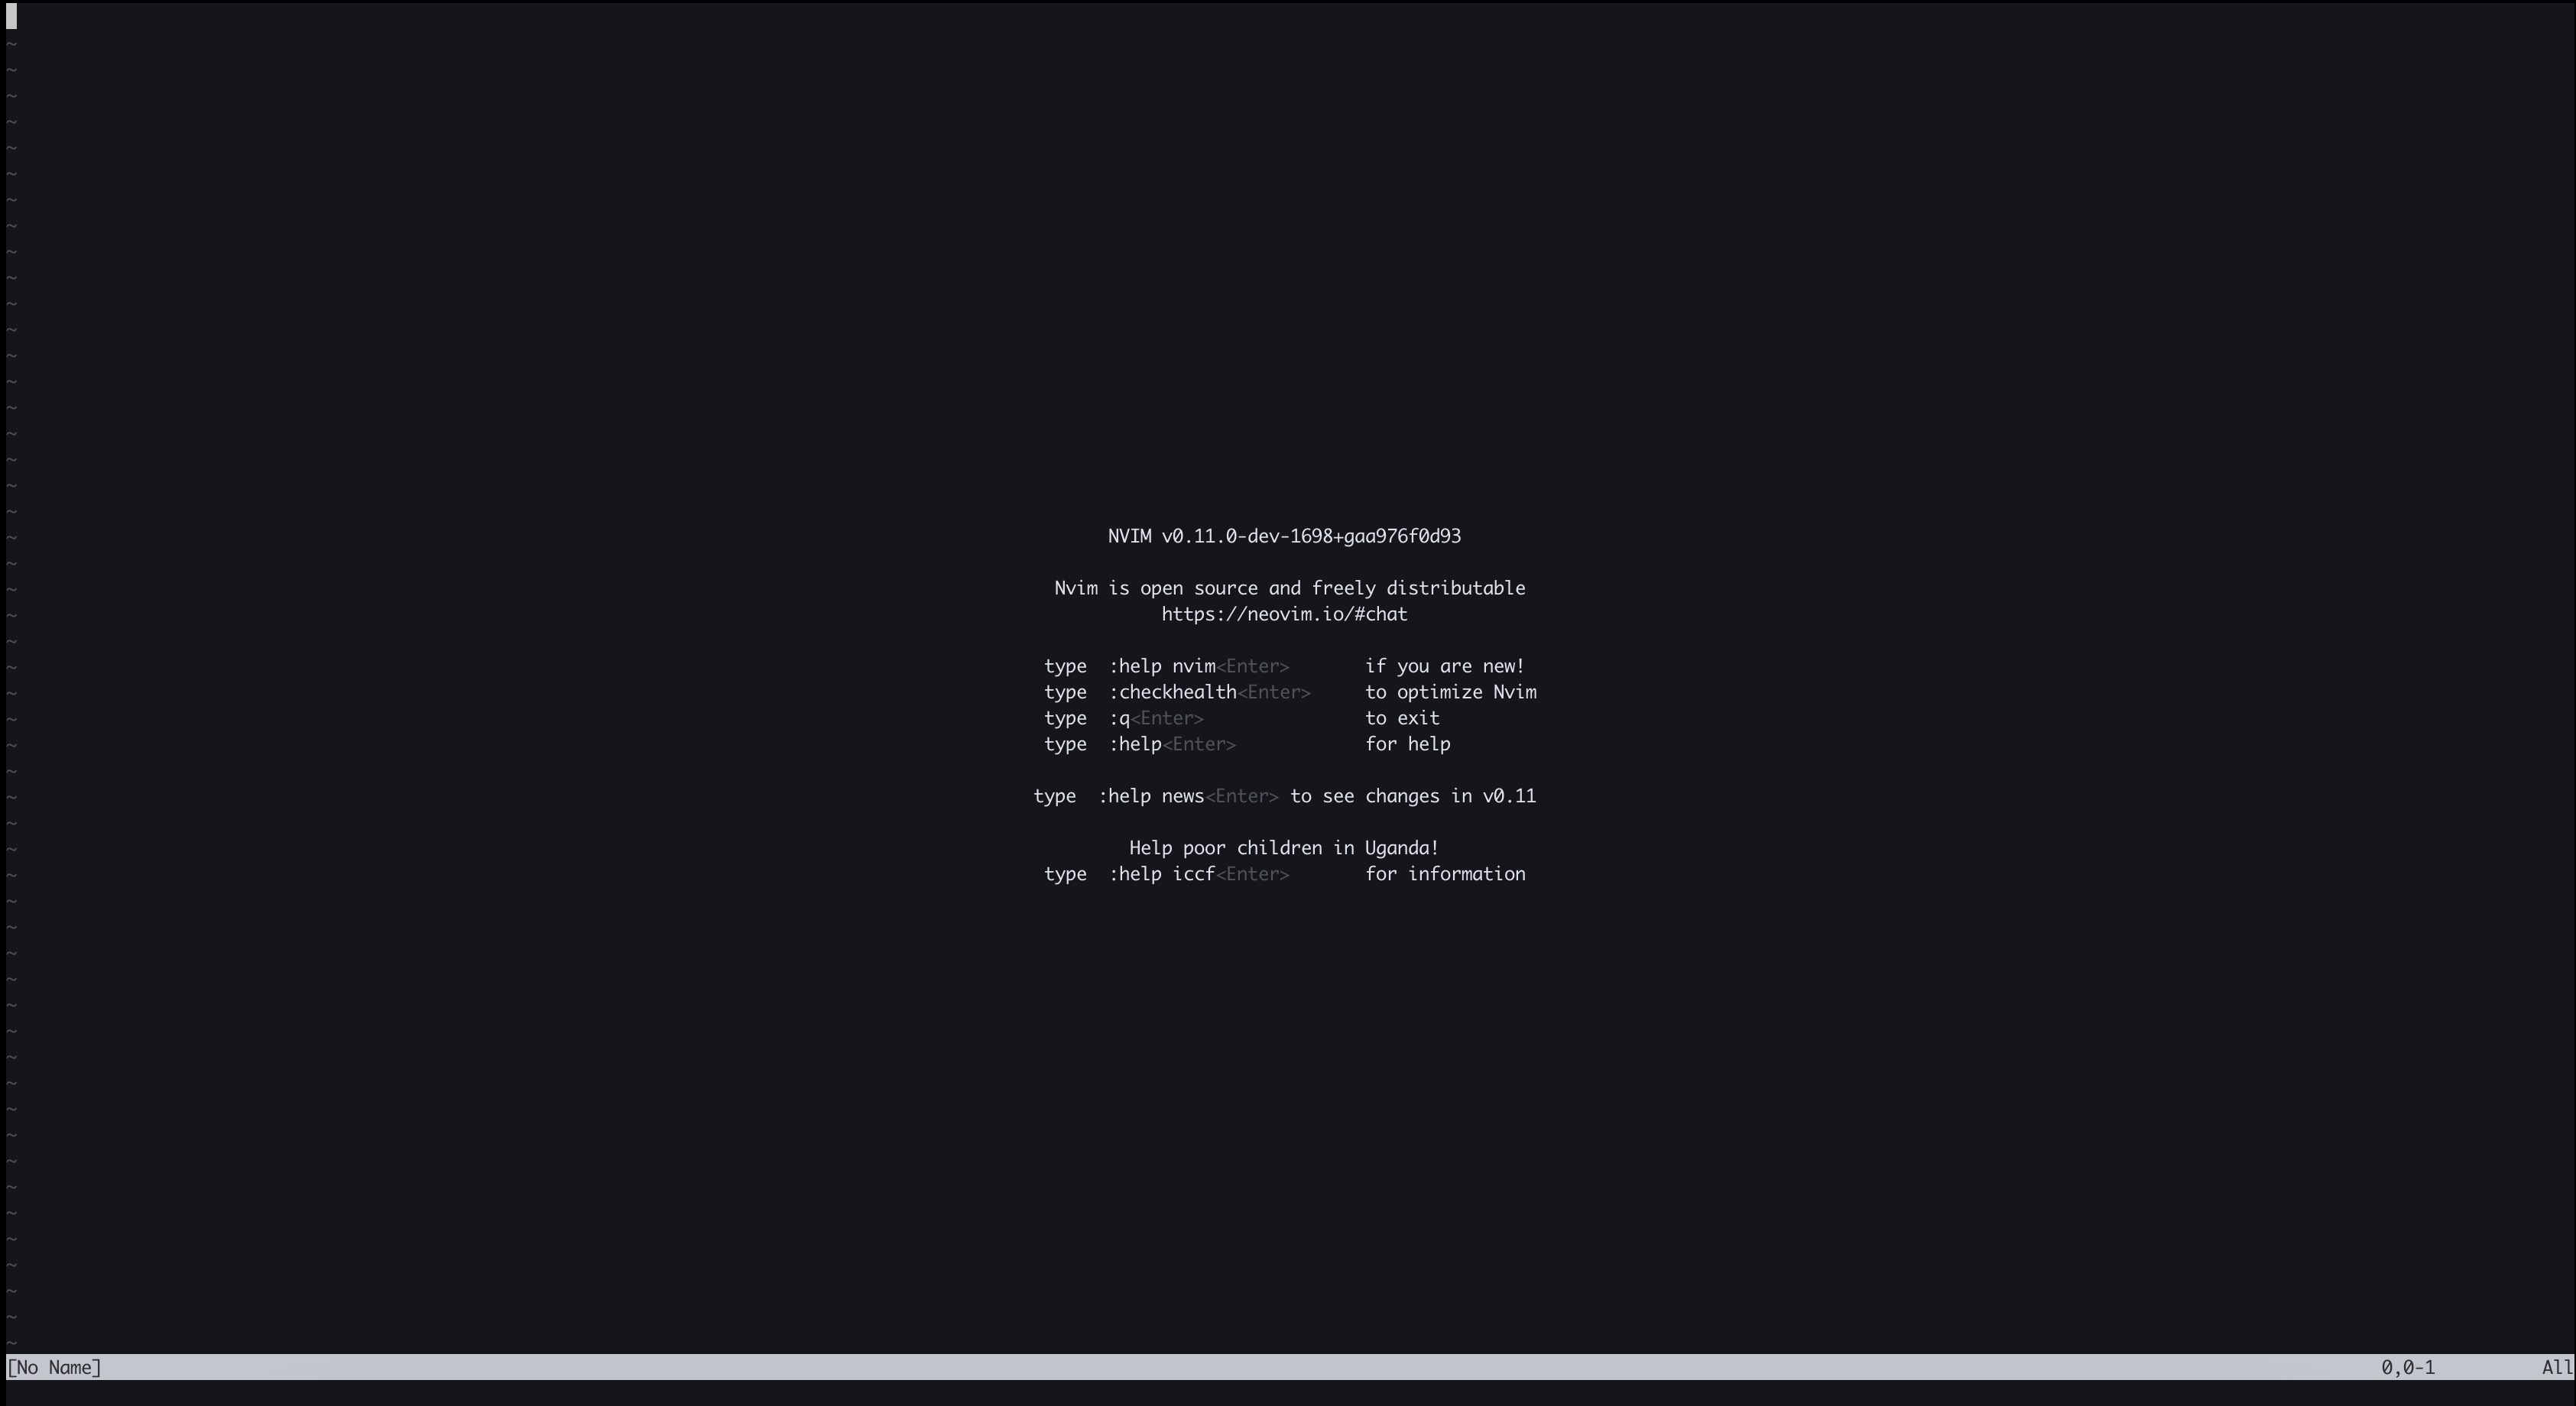
You can now run nvim to start neovim and see if it works. If you are on purdue's data server, you should make sure you don't see version 0.8.3.
Quick clangd tangent
Ok, so if you want to have autocomplete, error checking, and whatever we will eventually need clangd. If you are on the clangd data server, you can just run the following commands:
wget -O $HOME/clangd.zip https://github.com/clangd/clangd/releases/download/19.1.2/clangd-linux-19.1.2.zip
unzip $HOME/clangd.zip -d $HOME/clangd
mv $HOME/clangd/clangd_19.1.2/* $HOME/clangd
rm -rf $HOME/clangd.zip
echo 'export PATH="$HOME/clangd/bin:$PATH"' >> $HOME/.bashrc
echo 'export CLANG_LIB_DIR="$HOME/clangd/lib"' >> $HOME/.bashrc
source $HOME/.bashrc
Basic Config Stuff
First run mkdir -p $HOME/.config/nvim to make the config folder. Then run
nvim $HOME/.config/nvim/init.vim to open the config file. (if you are using
regular vim, run vim ~/.vimrc instead). This file will be ran every time you
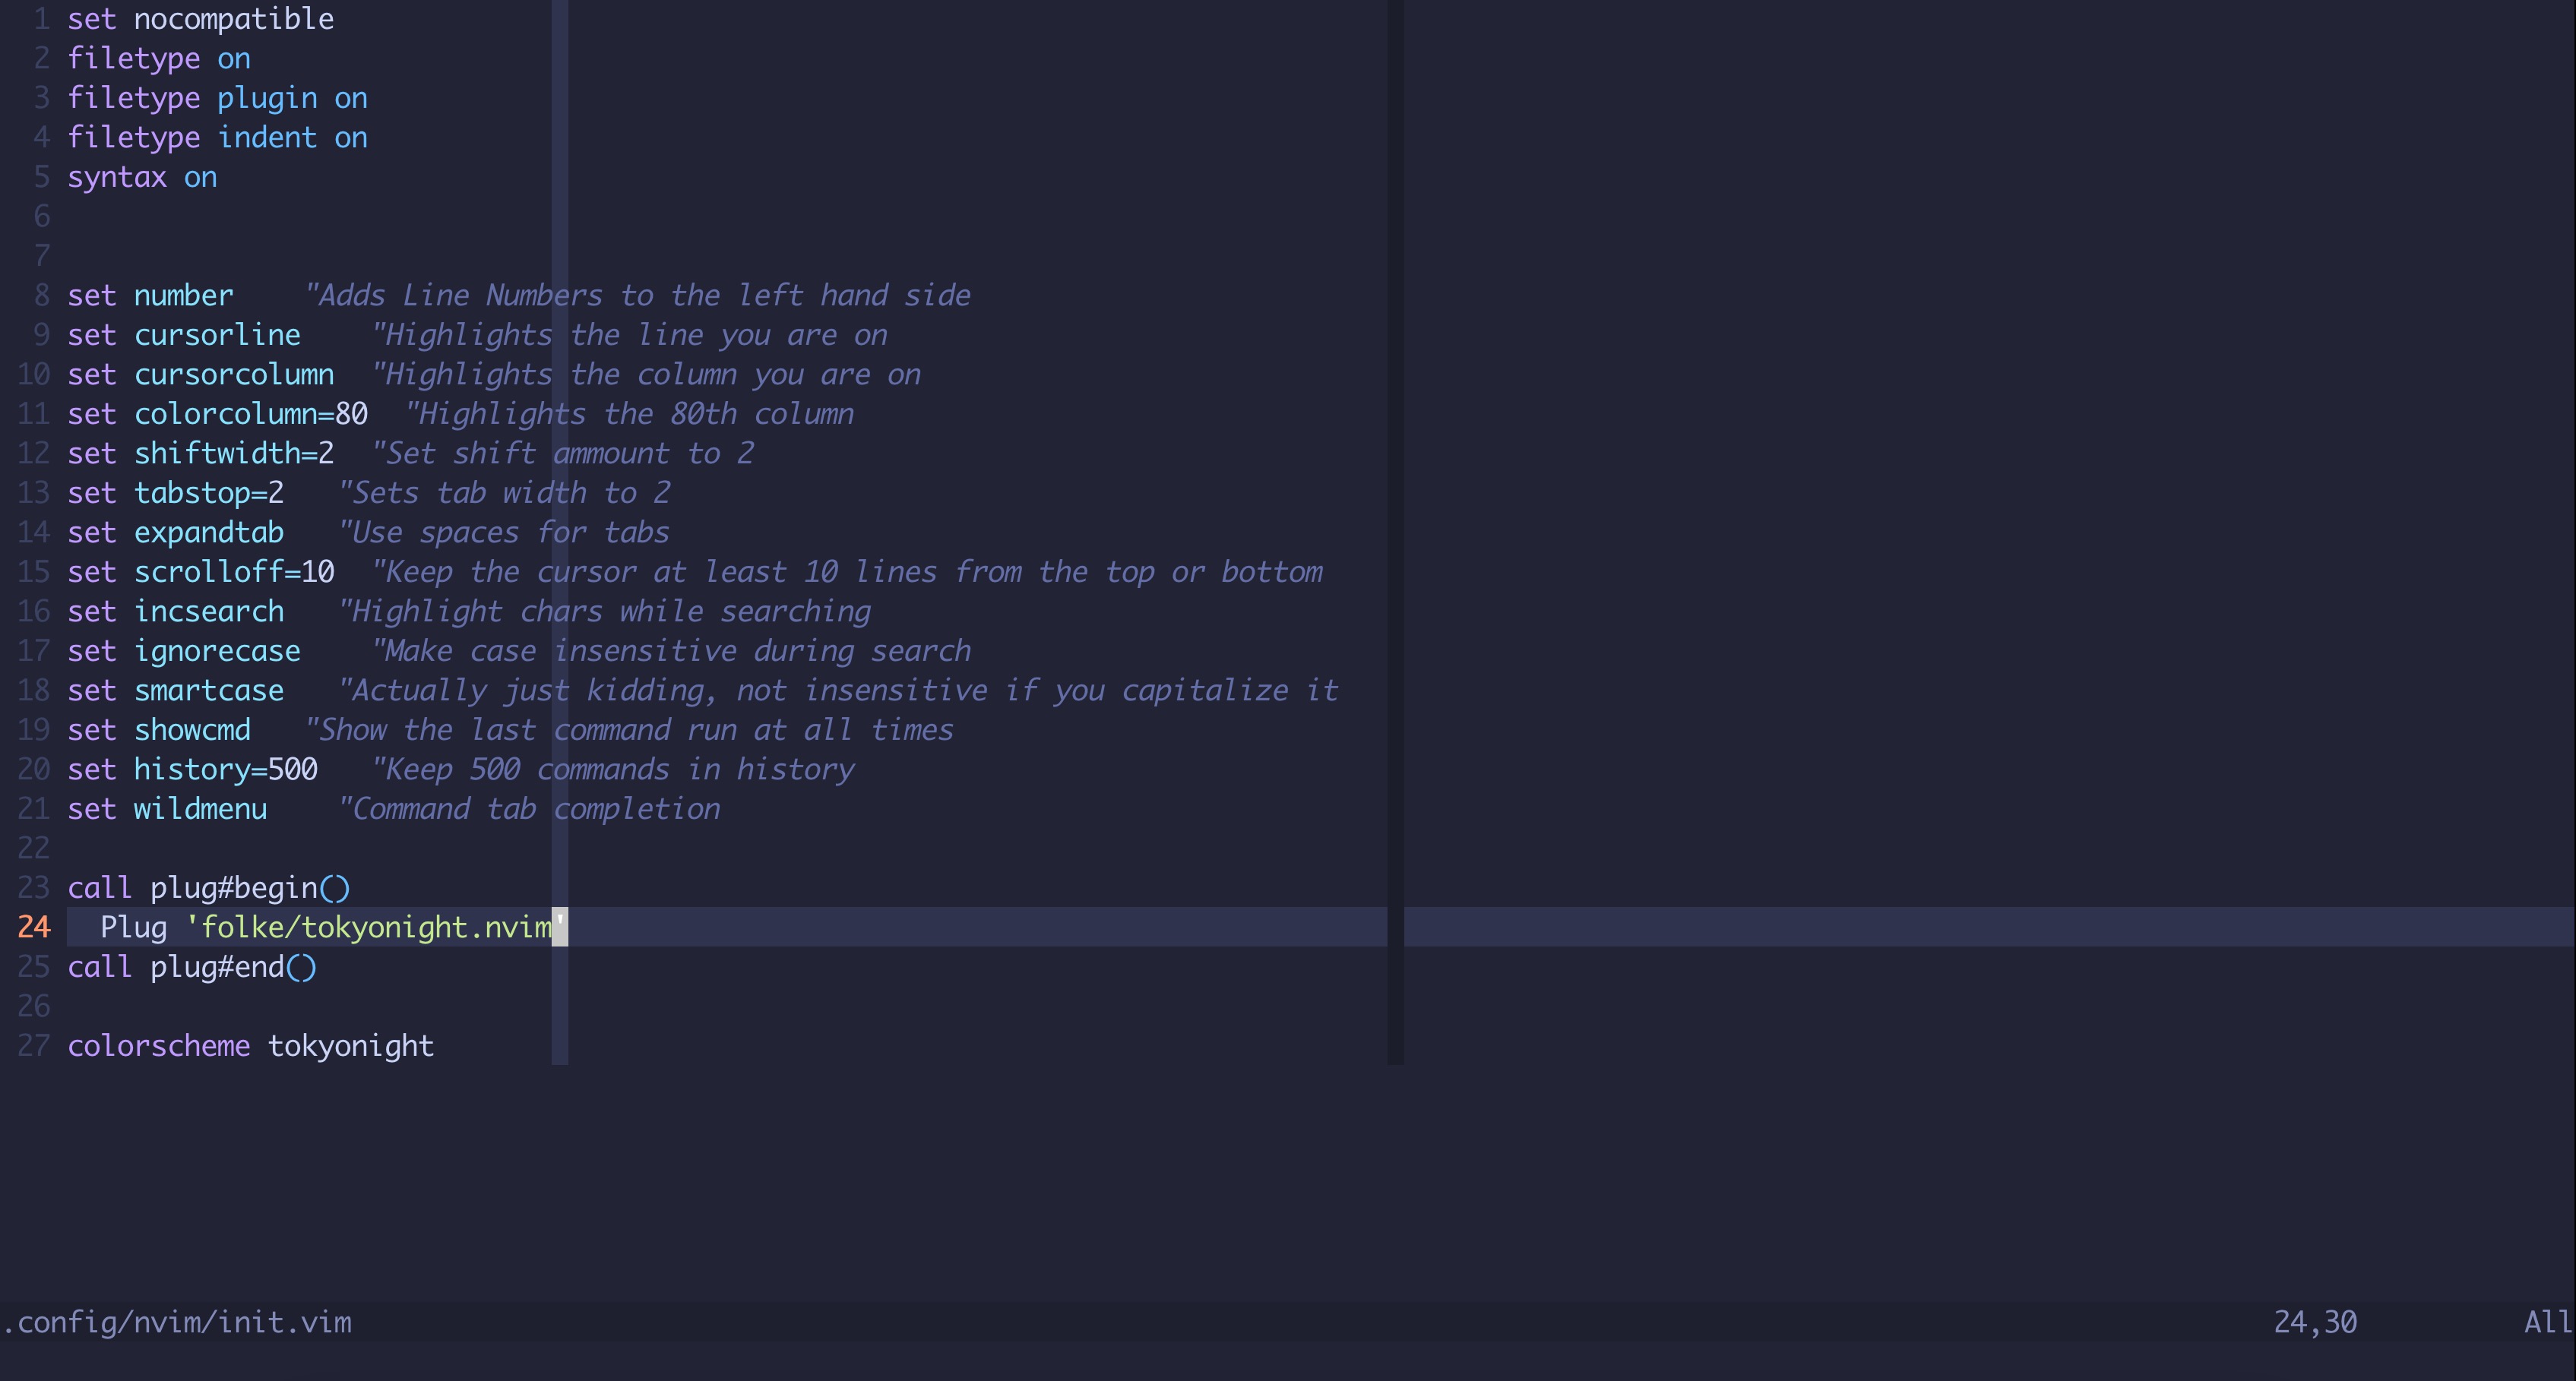
open neovim. Go ahead and add the following to it:
set nocompatible
filetype on
filetype plugin on
filetype indent on
syntax on
Now add some basic settings. I have included a few example ones below. To see the changes made, save and close the file, then reopen it.
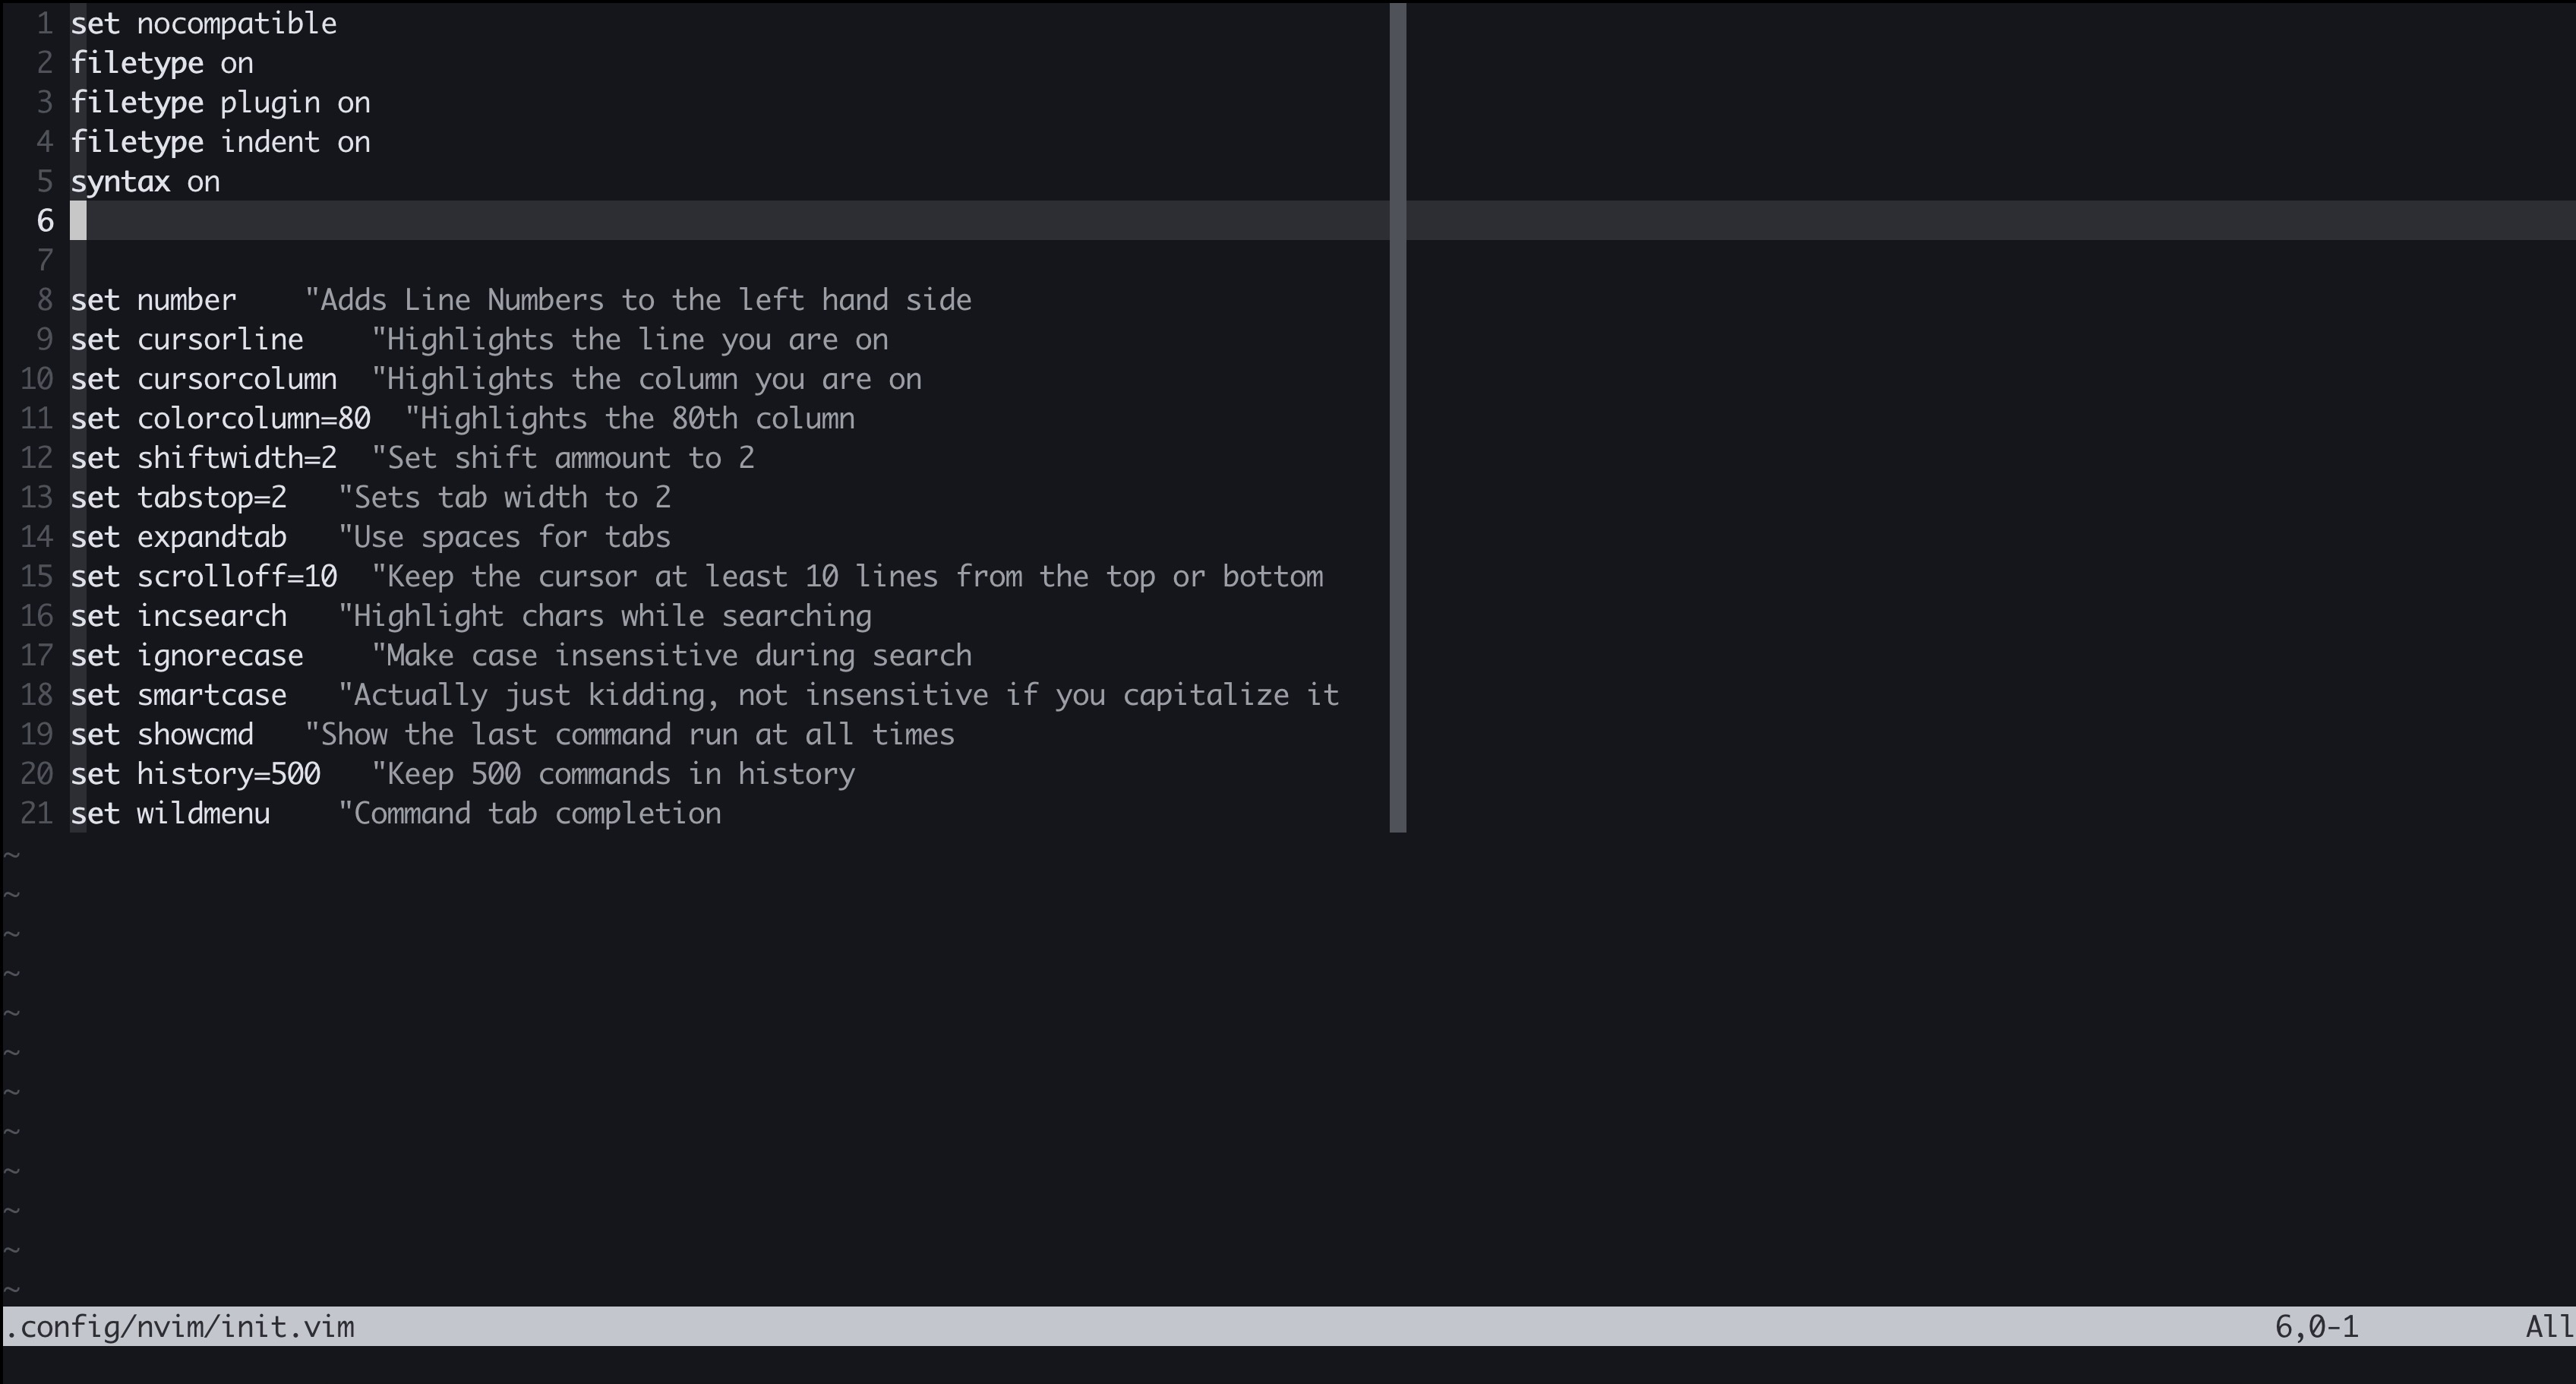
These are just the settings I thought it would be worth to start with. There are many more so just go ahead and google for some.
Plugins
Plugins are great. Just like VSCode extensions, there are so many of them and they can add so many features. We will be using vim-plug to manage our plugins. To install it, run the following command:
# If you are using neovim, run the following command
sh -c 'curl -fLo "${XDG_DATA_HOME:-$HOME/.local/share}"/nvim/site/autoload/plug.vim --create-dirs \
https://raw.githubusercontent.com/junegunn/vim-plug/master/plug.vim'

# If you are using regular vim, run the following command instead
curl -fLo ~/.vim/autoload/plug.vim --create-dirs \
https://raw.githubusercontent.com/junegunn/vim-plug/master/plug.vim
Now we can add plugins to the config file. Just add call plug#begin() above the
settings and call plug#end() below them. Then add whatever plugins you want.
For funzies, lets install a colorscheme. you can check some out at this cool website.
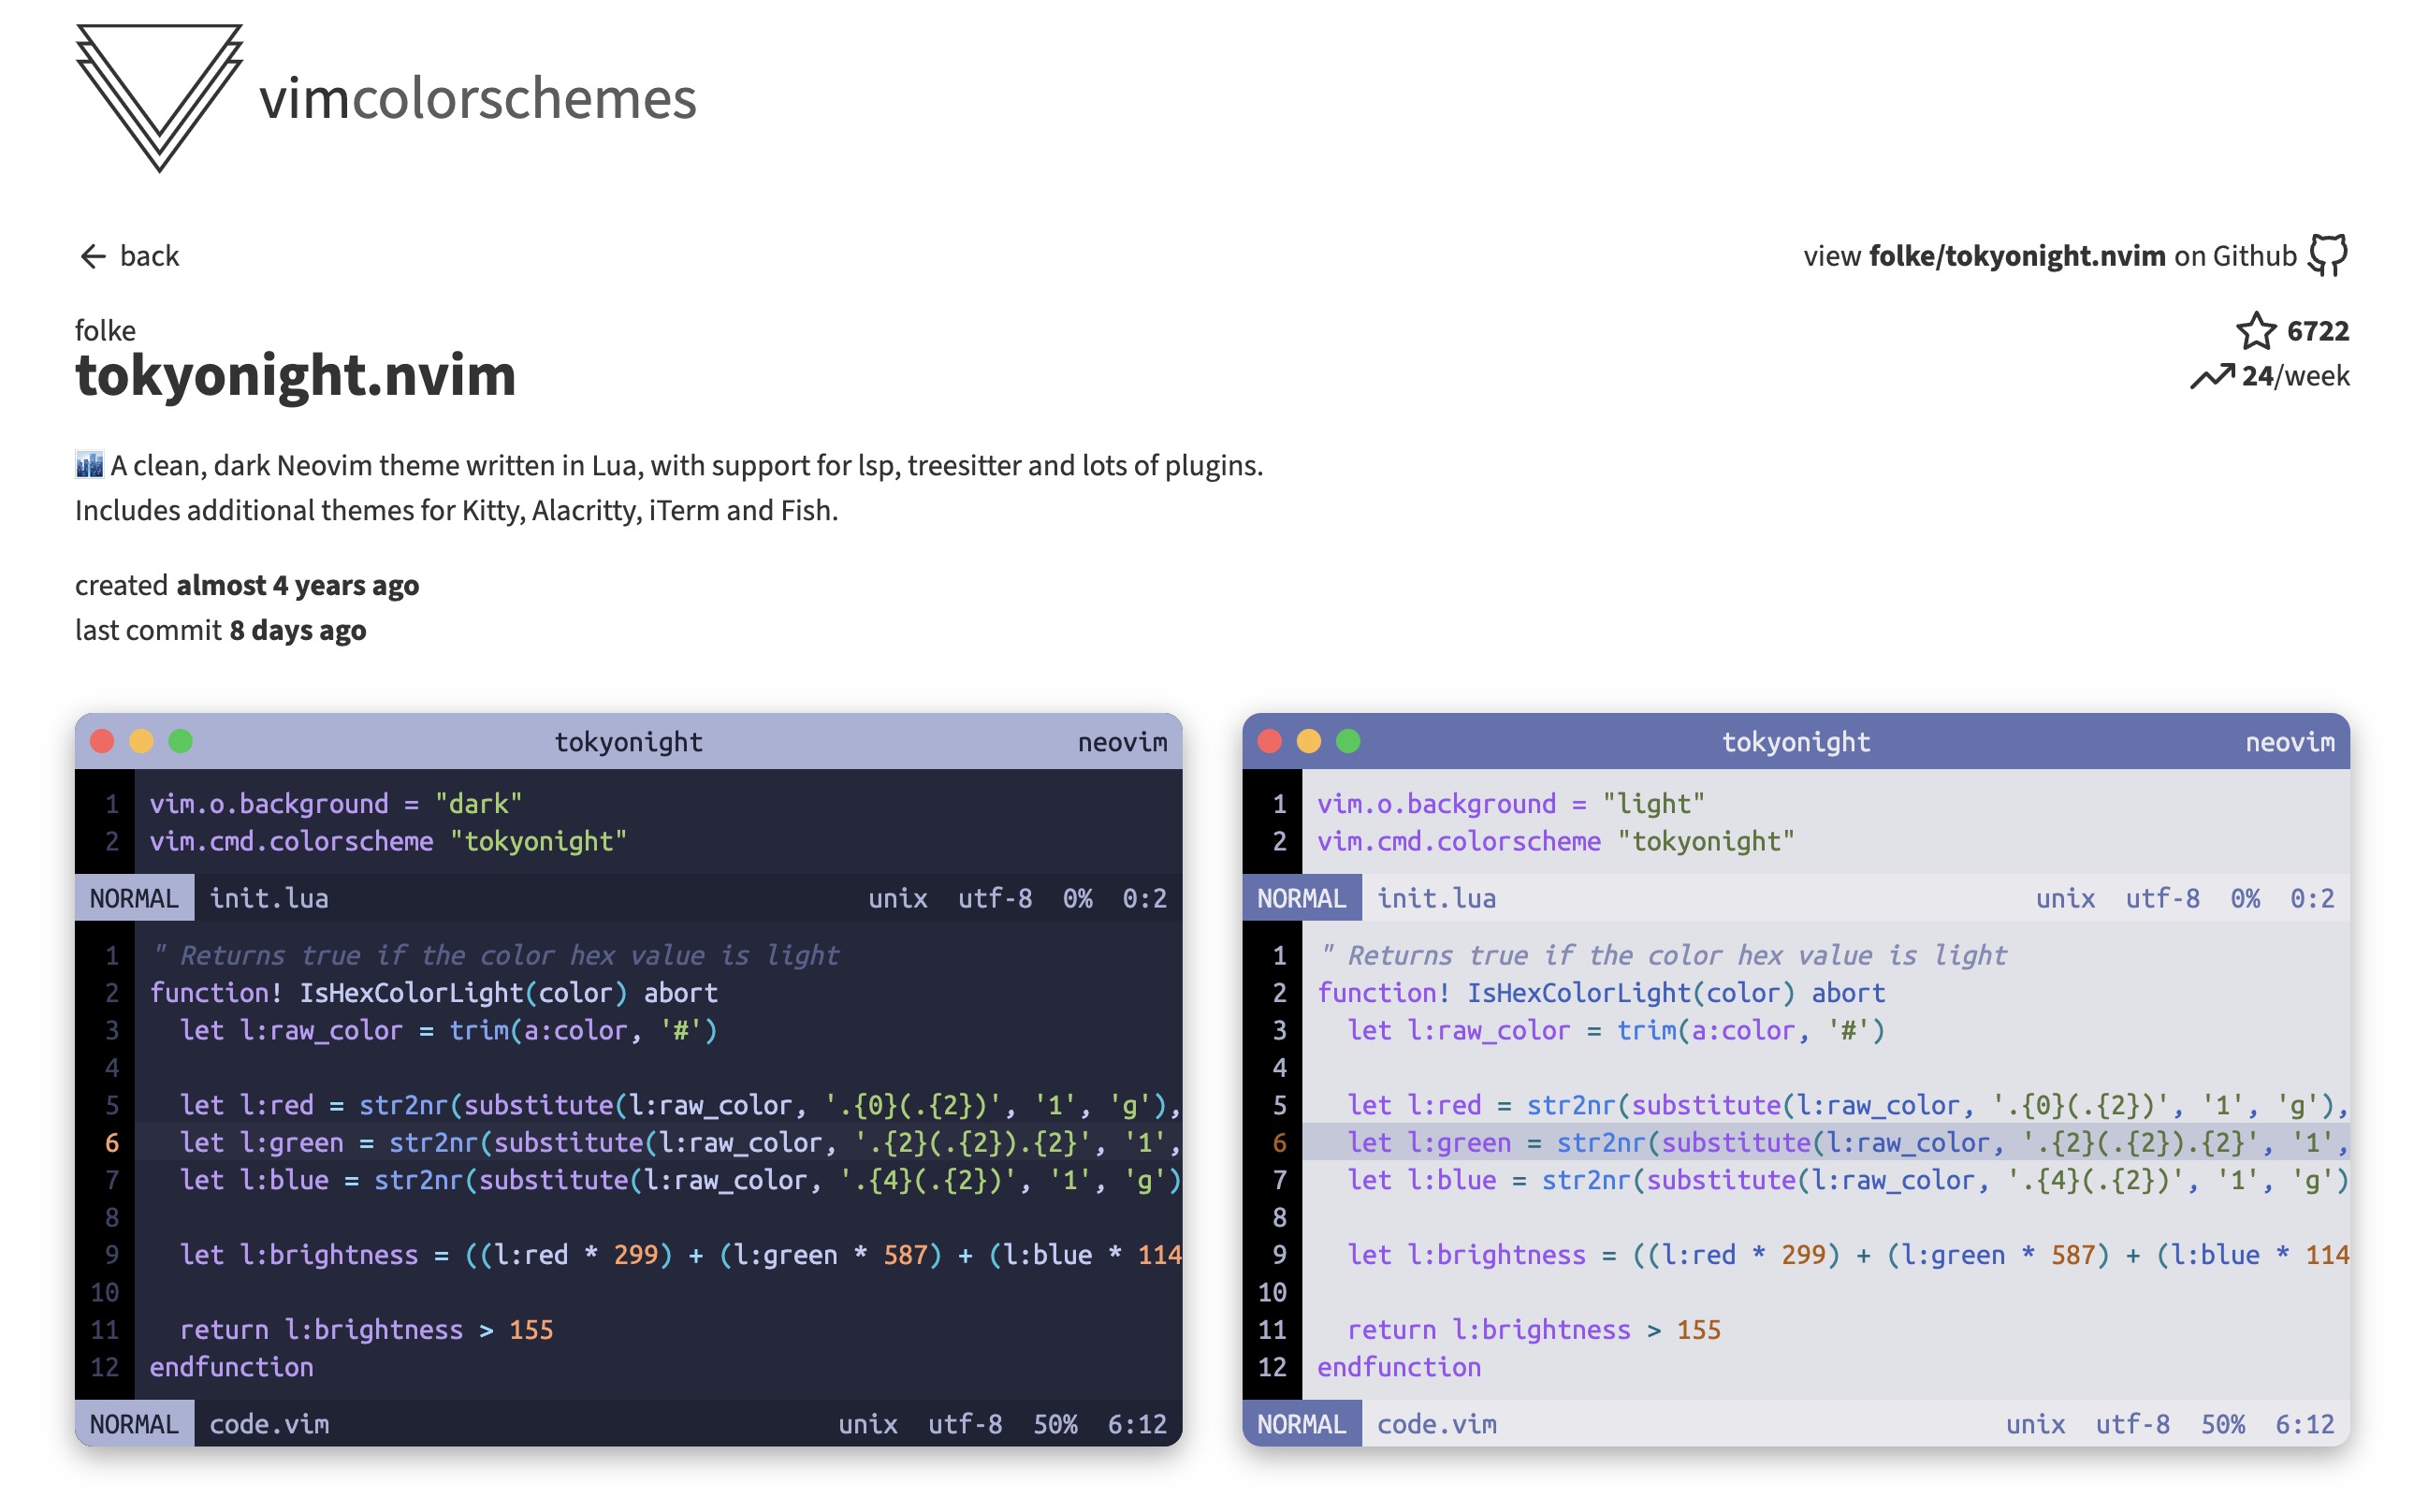
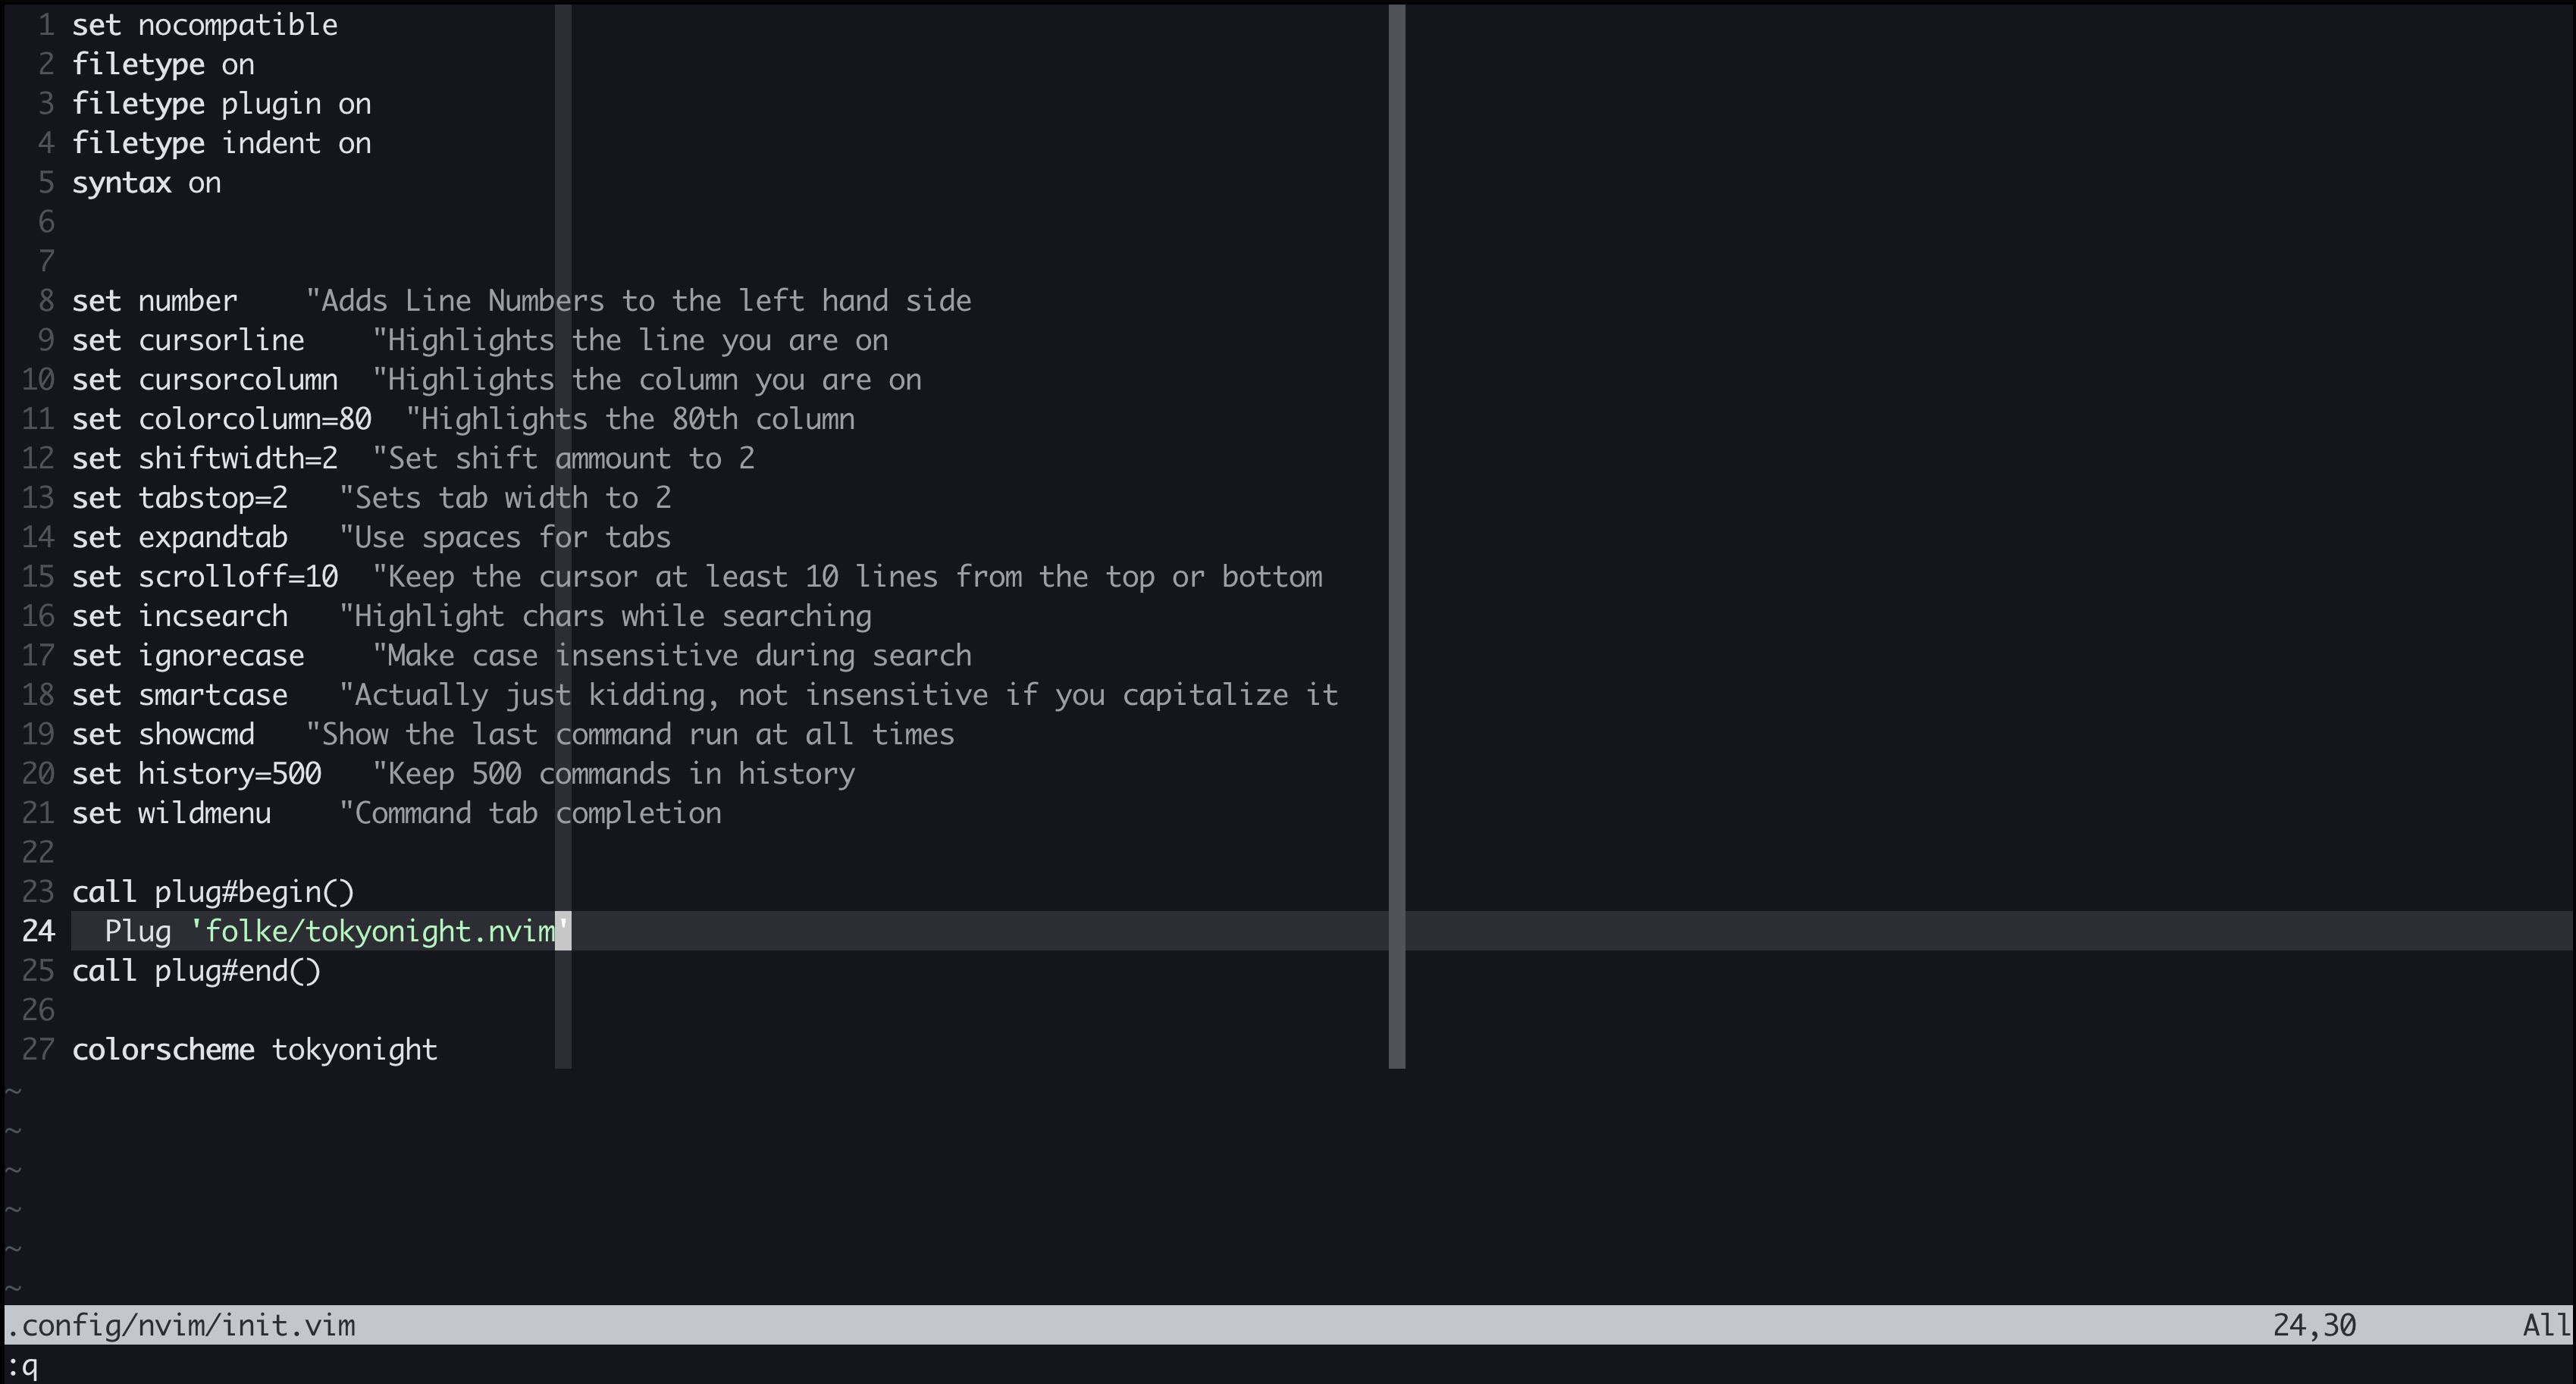
I like this one so I navigate to the github in the top left corner and add the username/repo to the list of plugins. I also add the colorscheme to the settings. Now I just need to close and reopen neovim and I should have a new colorscheme

Just kidding. We will need to install it first. Go ahead and run the :PlugInstall
command to do that and close and reopen neovim. Now you have a new colorscheme
Linting (With the CS240 Eastwood linter)
Linting is super useful. We are going to use a vim plugin called ALE to do this.
To install it, add it to the list of plugins in the config file and run :PlugInstall.
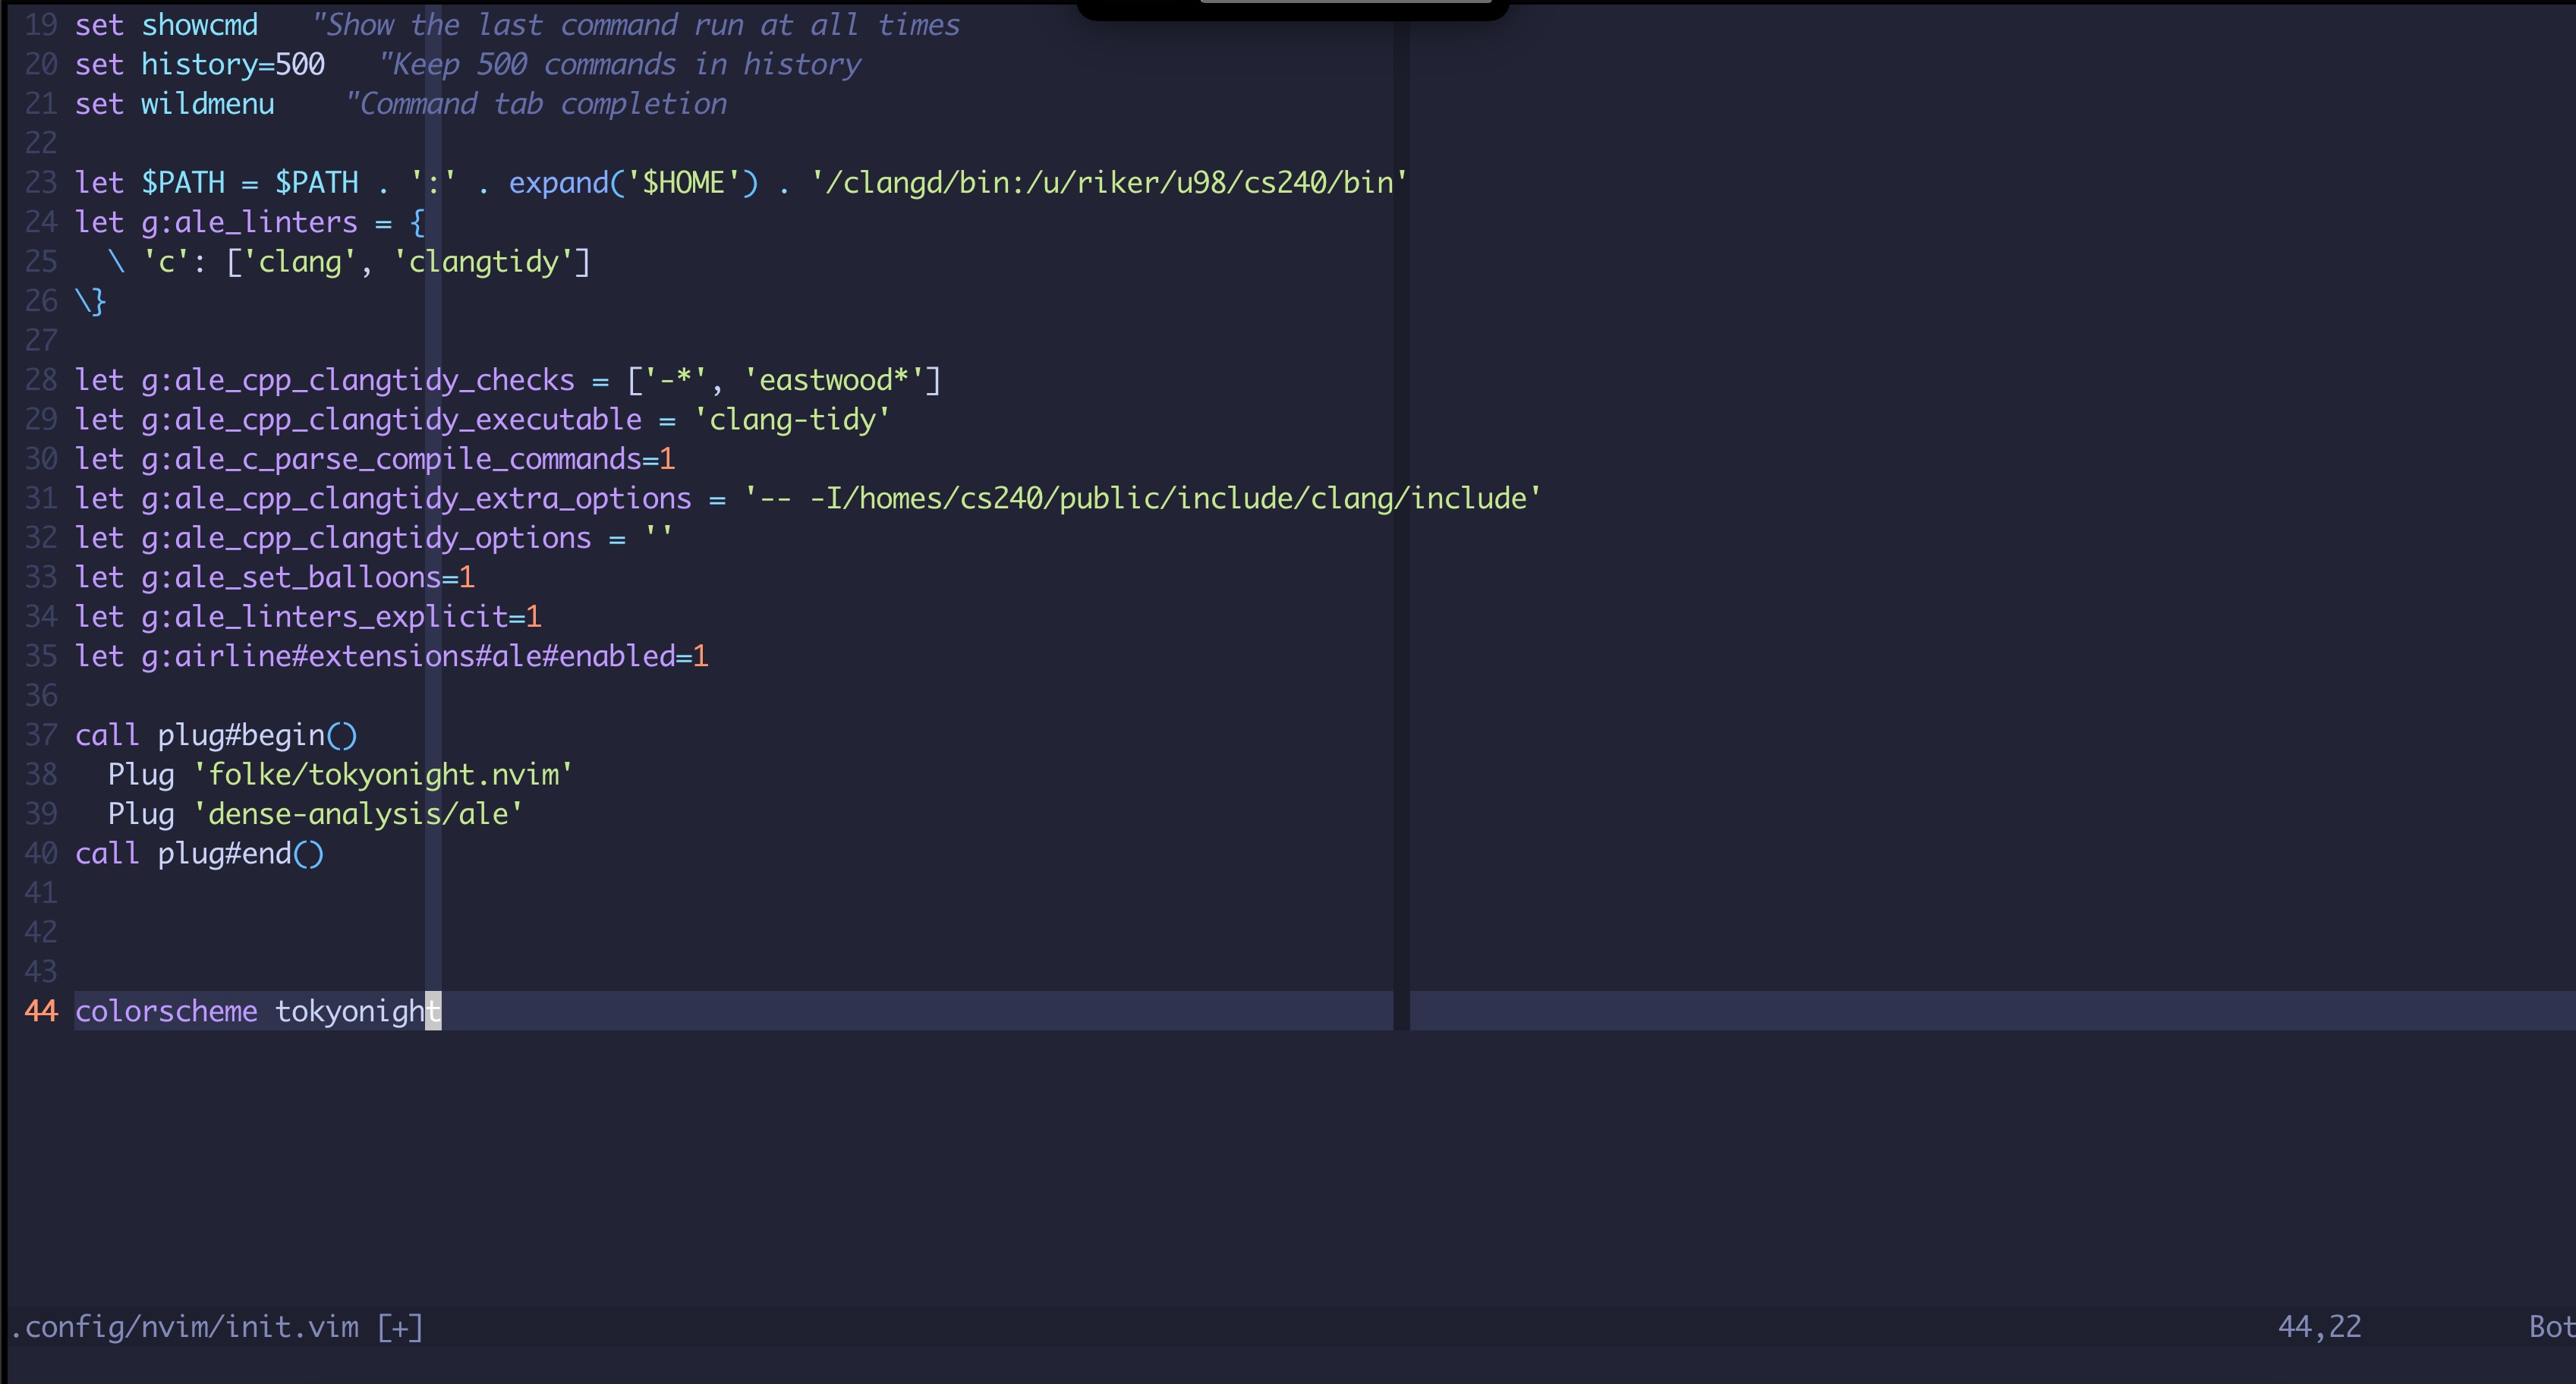
We are also going to add some configuration to the config file to make it work with
clangd and the eastwood linter.
" Add the ale plugin
call plug#begin()
    Plug 'dense-analysis/ale'
call plug#end()

" Not required if you are not doing CS240 Eastwood linting
let $PATH = $PATH . ':' . expand('$HOME') . '/clangd/bin:/u/riker/u98/cs240/bin'
let g:ale_linters = {
    \ 'python': ['pylint'],
    \ 'vim': ['vint'],
    \ 'cpp': ['clang'],
    \ 'c': ['clang', 'clangtidy']
\}

" Config to use the cs240 eastwood
let g:ale_cpp_clangtidy_checks = ['-*', 'eastwood*']
let g:ale_cpp_clangtidy_executable = 'clang-tidy'
let g:ale_c_parse_compile_commands=1
let g:ale_cpp_clangtidy_extra_options = '-- -I/homes/cs240/public/include/clang/include'
let g:ale_cpp_clangtidy_options = ''
let g:ale_set_balloons=1
let g:ale_linters_explicit=1
let g:airline#extensions#ale#enabled=1
You will also need to include a .clang-tidy file in you cs240 path if you want to use the linter
echo 'Checks: "-*,eastwood*"
WarningsAsErrors: ""
HeaderFilterRegex: ".*"
FormatStyle: "file"' > ~/cs240/.clang-tidy
If we look at a test file, we see...
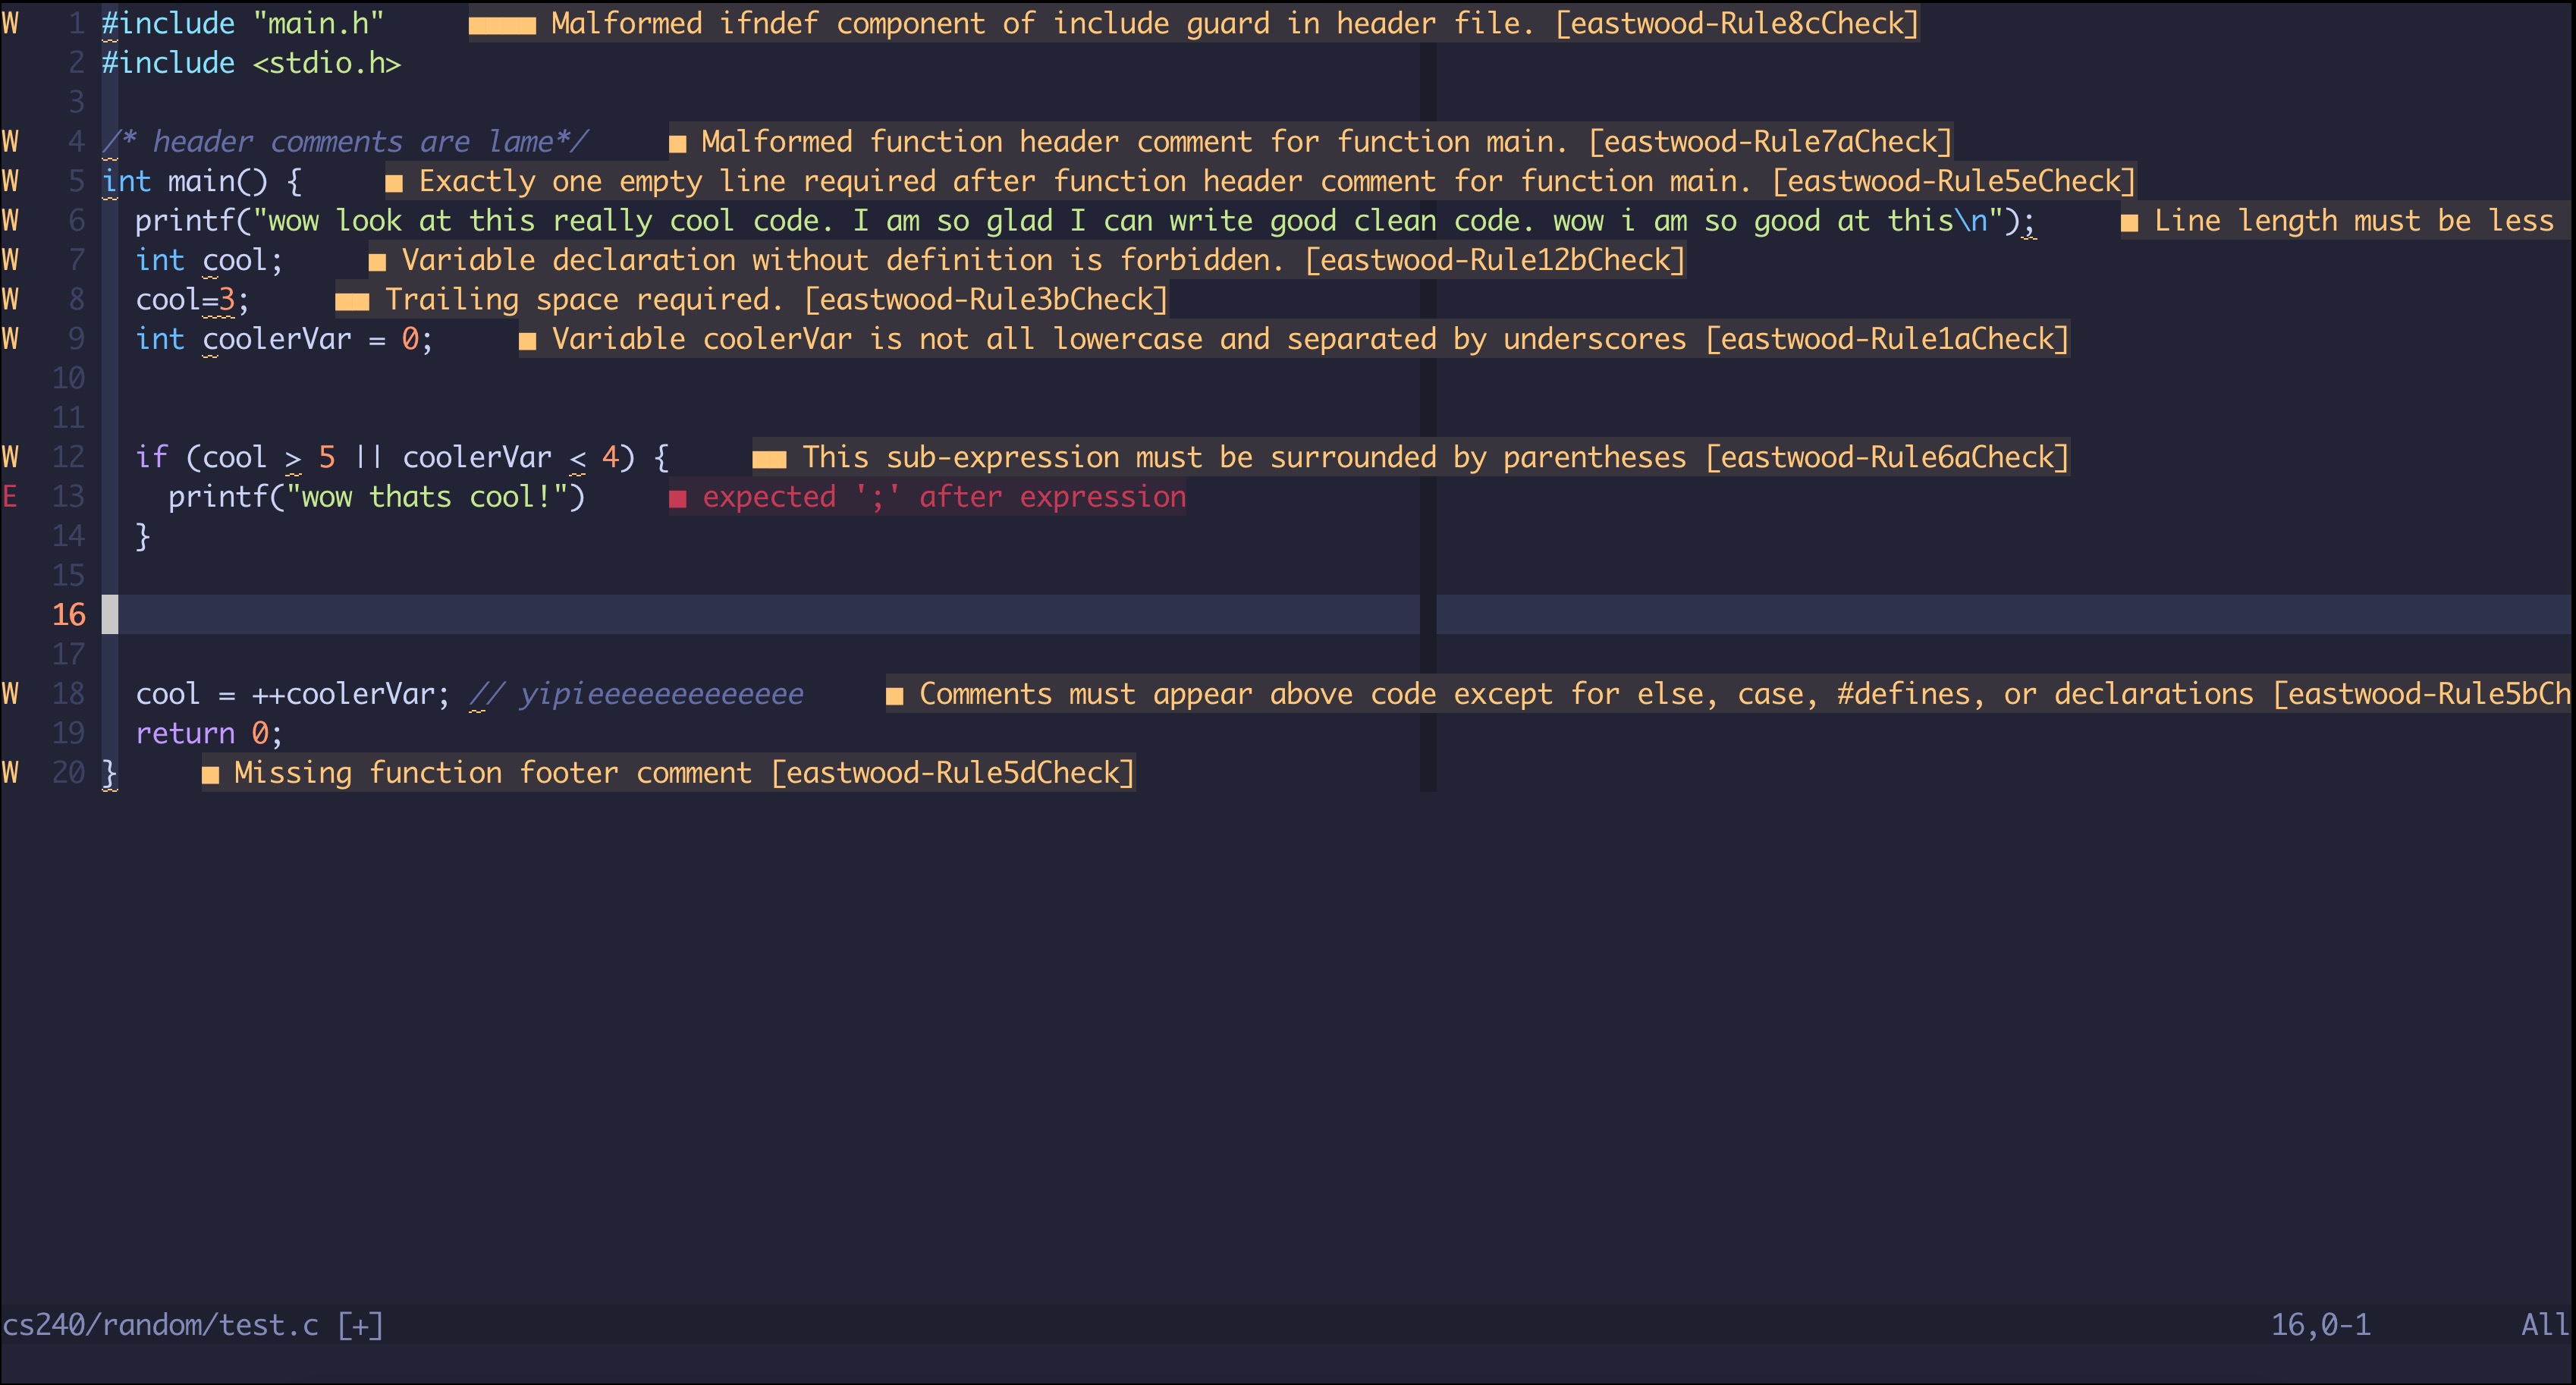
Yep, it works. Now I can feel the weight of Turkstra's judgement even when I am in the editor!
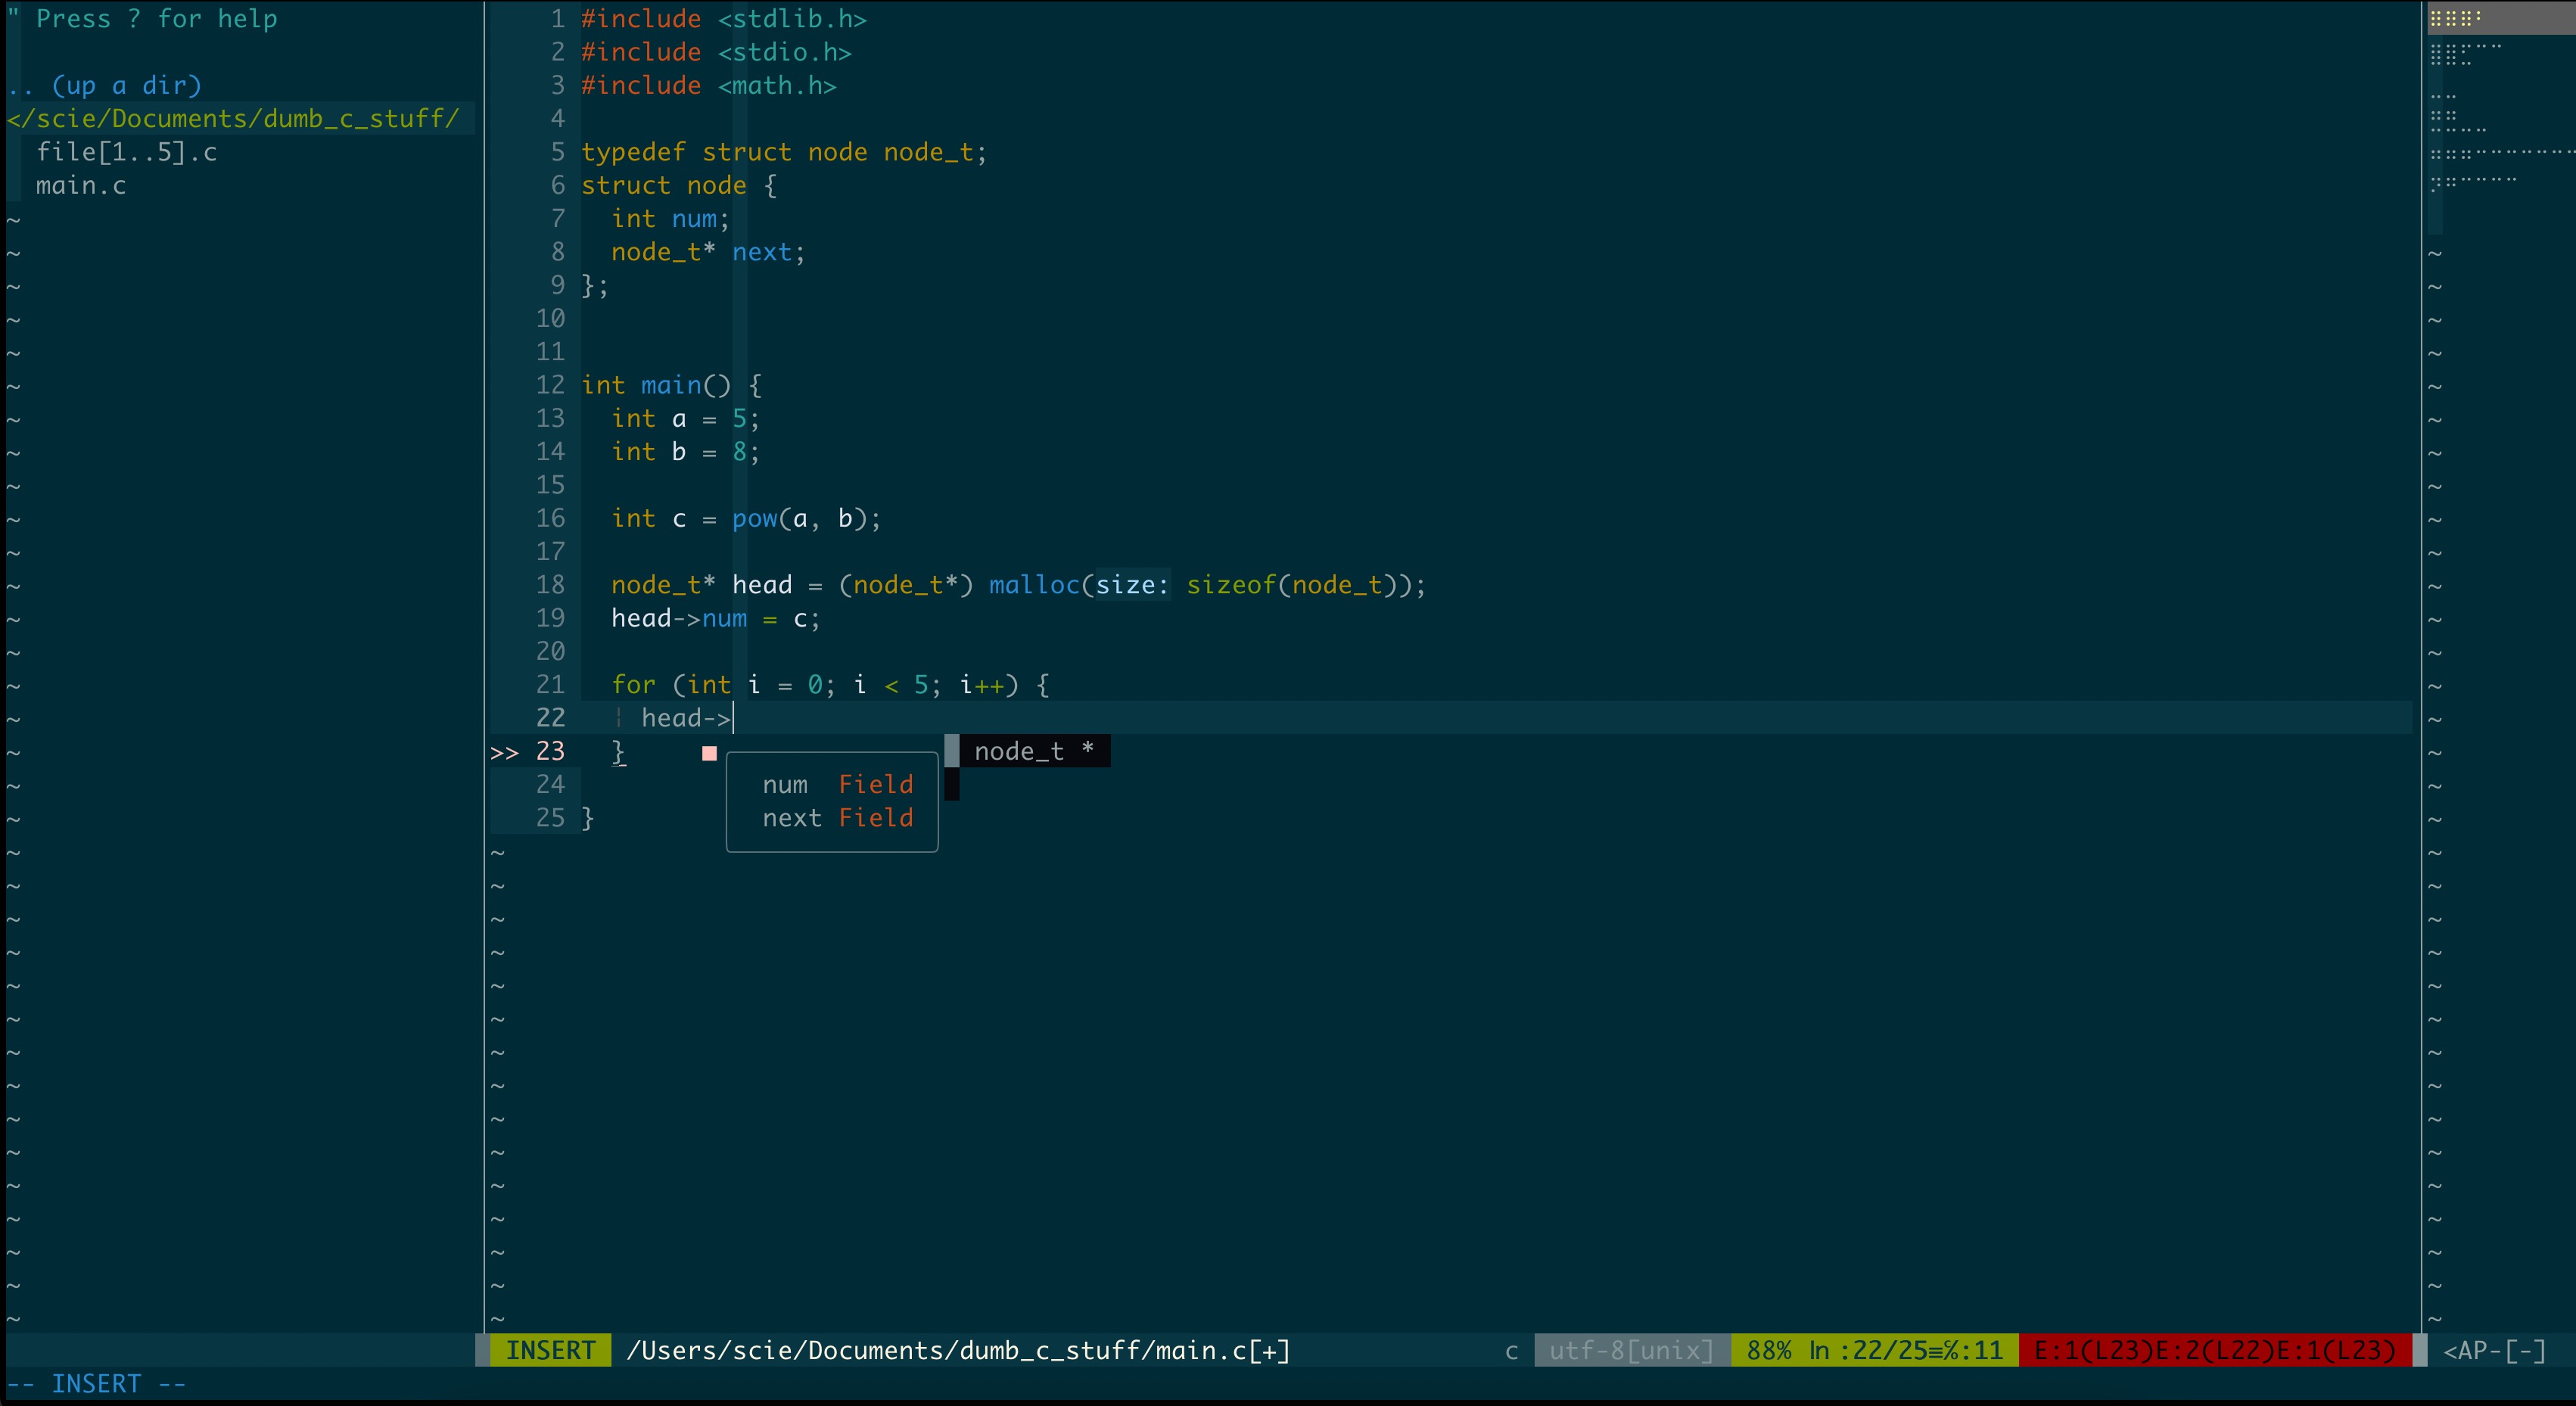
Autocomplete
All modern editors have autocomplete so we should have it too. We are going to use Neovim's built in LSP client (sorry regular vim users) with the cmp plugin to do this. We need to install 18 billion other things to do this but its all documented on their github page so we will just take that.
Add the following plugins, reload neovim, and run :PlugInstall to install them.
Plug 'neovim/nvim-lspconfig'
Plug 'hrsh7th/cmp-nvim-lsp'
Plug 'hrsh7th/cmp-buffer'
Plug 'hrsh7th/cmp-path'
Plug 'hrsh7th/cmp-cmdline'
Plug 'hrsh7th/nvim-cmp'
Plug 'hrsh7th/cmp-vsnip'
Plug 'hrsh7th/vim-vsnip'
We are also just going to paste the following code in. It is yoinked right from the ReadMe and is verified to work.
lua <<EOF
  -- Set up nvim-cmp.
  local cmp = require'cmp'

  cmp.setup({
    snippet = {
      -- REQUIRED - you must specify a snippet engine
      expand = function(args)
        vim.fn["vsnip#anonymous"](args.body) -- For `vsnip` users.

      end,
    },
    window = {
      -- completion = cmp.config.window.bordered(),
      -- documentation = cmp.config.window.bordered(),
    },
    mapping = cmp.mapping.preset.insert({
      [''] = cmp.mapping.scroll_docs(-4),
      [''] = cmp.mapping.scroll_docs(4),
      [''] = cmp.mapping.complete(),
      [''] = cmp.mapping.abort(),
      [''] = cmp.mapping.confirm({ select = true }),
    }),
    sources = cmp.config.sources({
      { name = 'nvim_lsp' },
      { name = 'vsnip' }, -- For vsnip users.
      -- { name = 'luasnip' }, -- For luasnip users.
      -- { name = 'ultisnips' }, -- For ultisnips users.
      -- { name = 'snippy' }, -- For snippy users.
    }, {
      { name = 'buffer' },
    })
  })

  -- To use git you need to install the plugin petertriho/cmp-git and uncomment lines below
  -- Set configuration for specific filetype.
  --[[ cmp.setup.filetype('gitcommit', {
    sources = cmp.config.sources({
      { name = 'git' },
    }, {
      { name = 'buffer' },
    })
 })
 require("cmp_git").setup() ]]--

  -- Use buffer source for `/` and `?` (if you enabled `native_menu`, this won't work anymore).
  cmp.setup.cmdline({ '/', '?' }, {
    mapping = cmp.mapping.preset.cmdline(),
    sources = {
      { name = 'buffer' }
    }
  })

  -- Use cmdline & path source for ':' (if you enabled `native_menu`, this won't work anymore).
  cmp.setup.cmdline(':', {
    mapping = cmp.mapping.preset.cmdline(),
    sources = cmp.config.sources({
      { name = 'path' }
    }, {
      { name = 'cmdline' }
    }),
    matching = { disallow_symbol_nonprefix_matching = false }
  })

  -- Set up lspconfig.
  local capabilities = require('cmp_nvim_lsp').default_capabilities()
  -- Replace  with each lsp server you've enabled.
  require('lspconfig')['clangd'].setup {
    capabilities = capabilities
  }
EOF
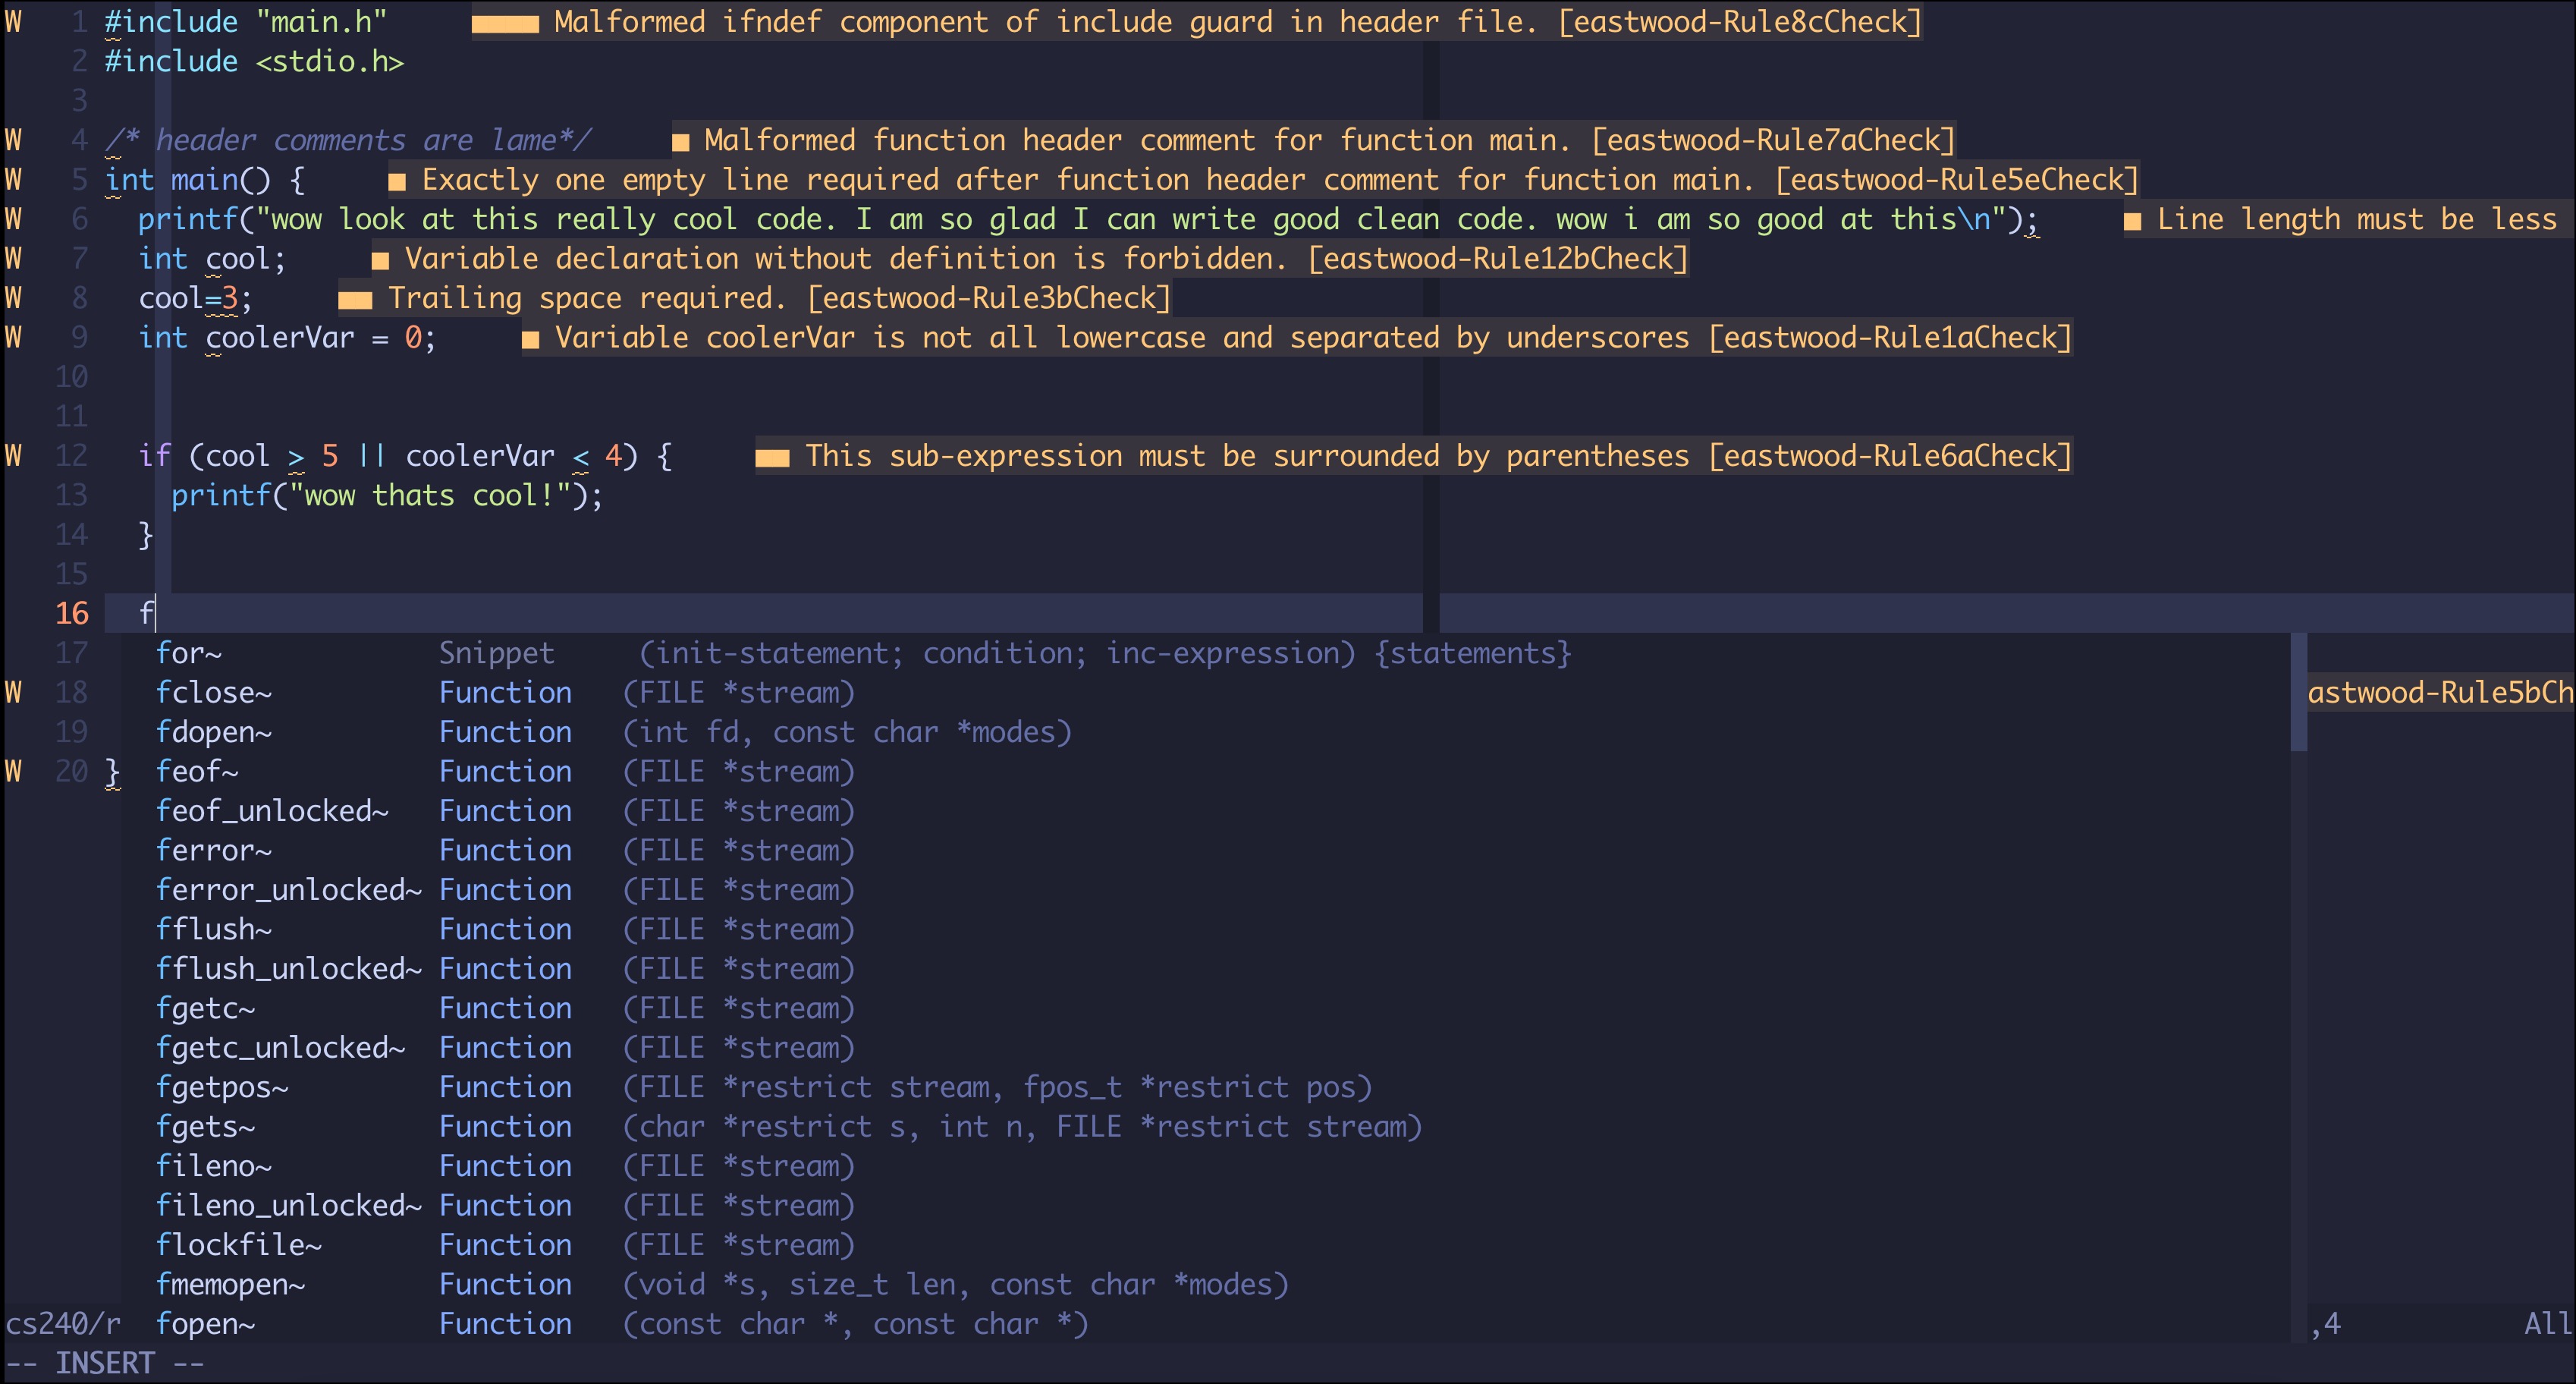
Now, it should work.
Conclusion
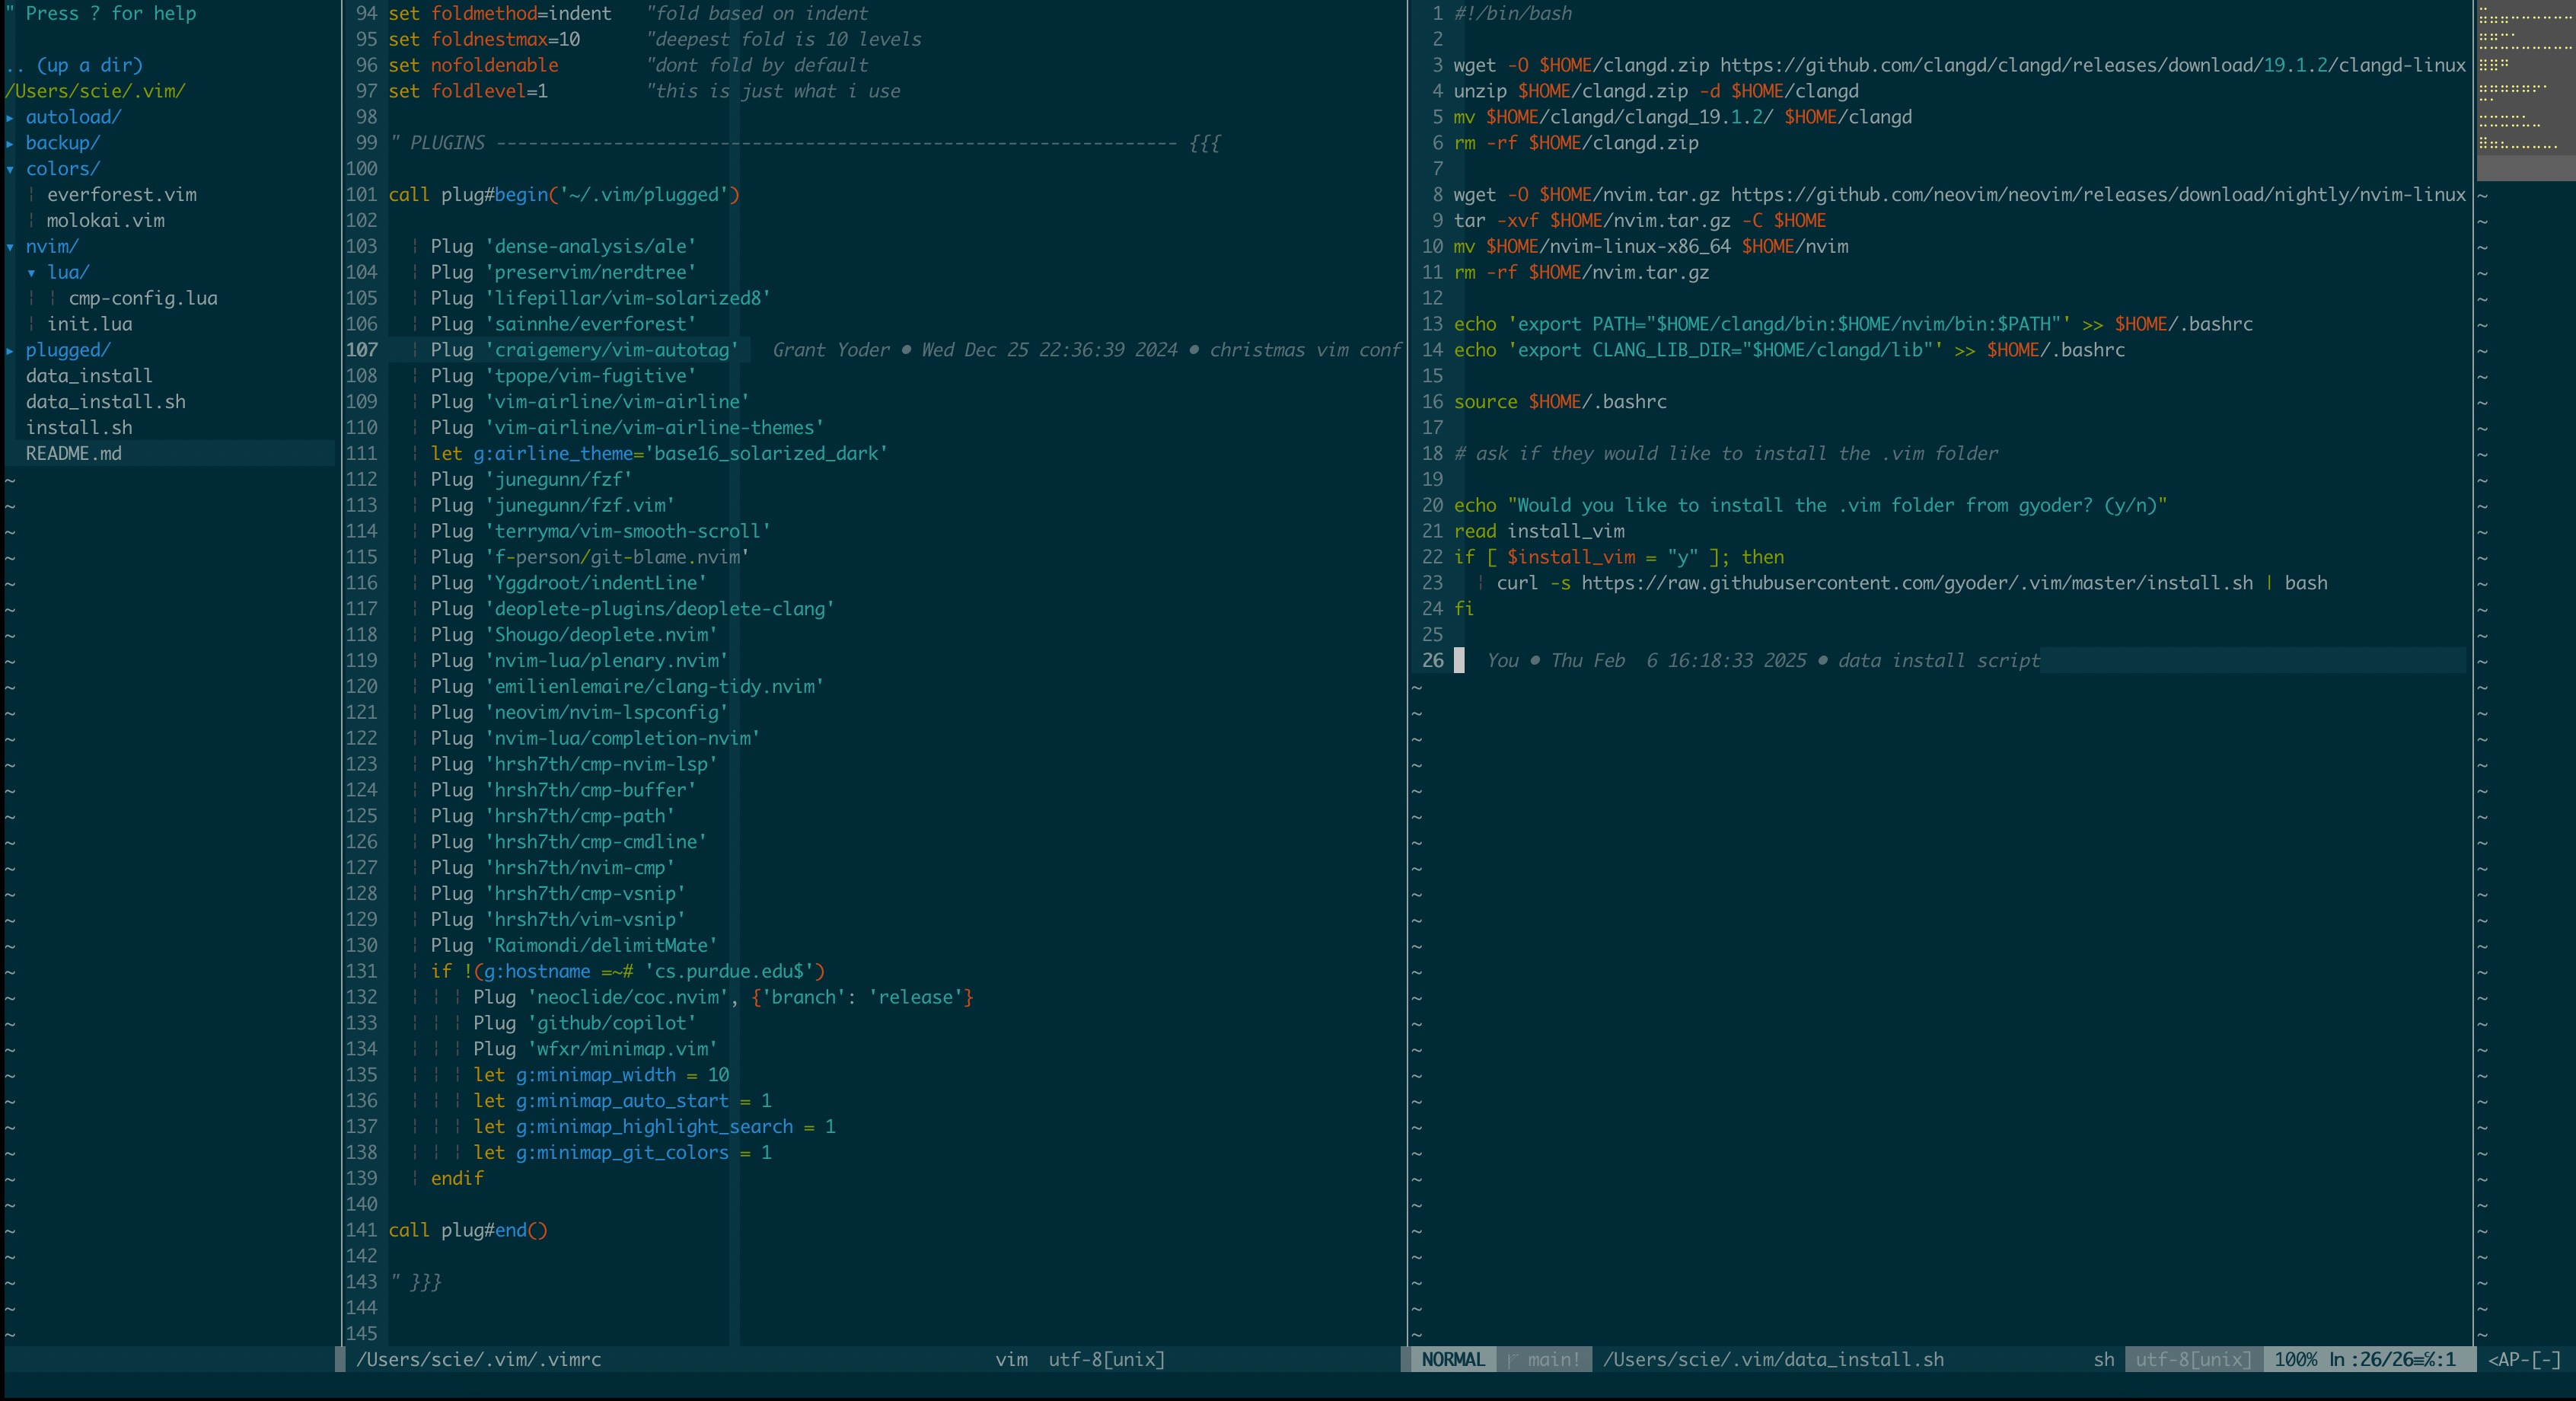
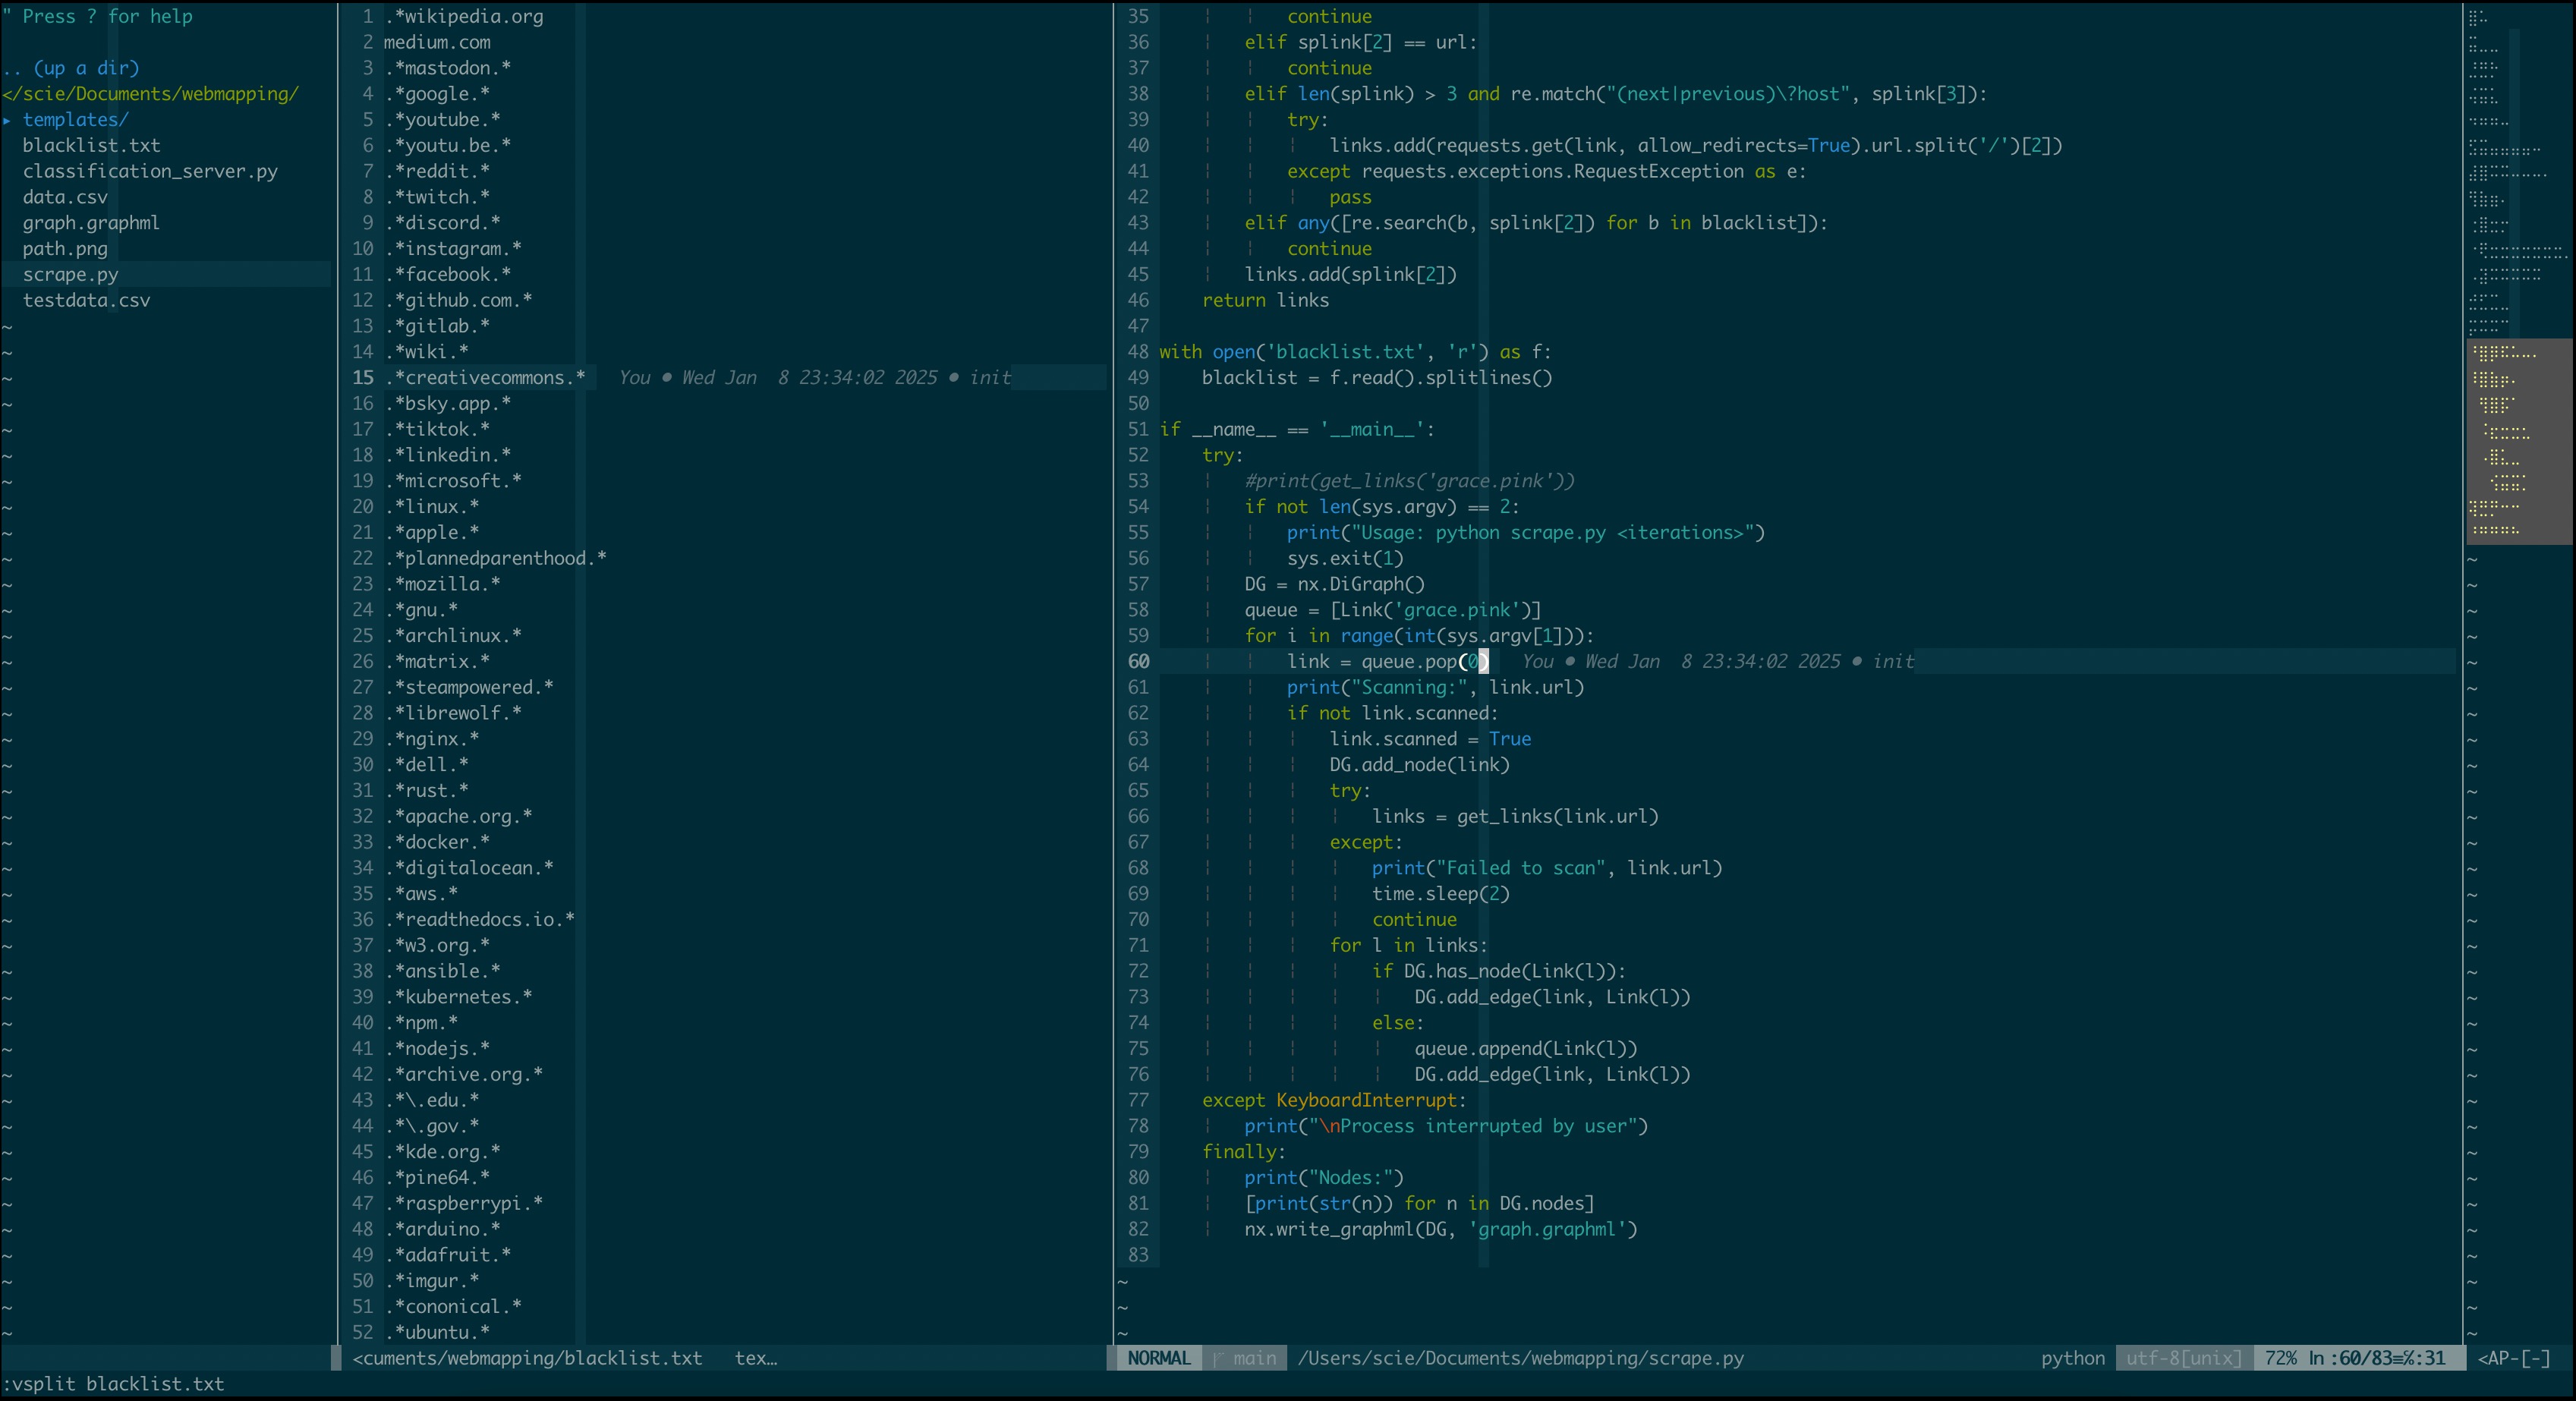
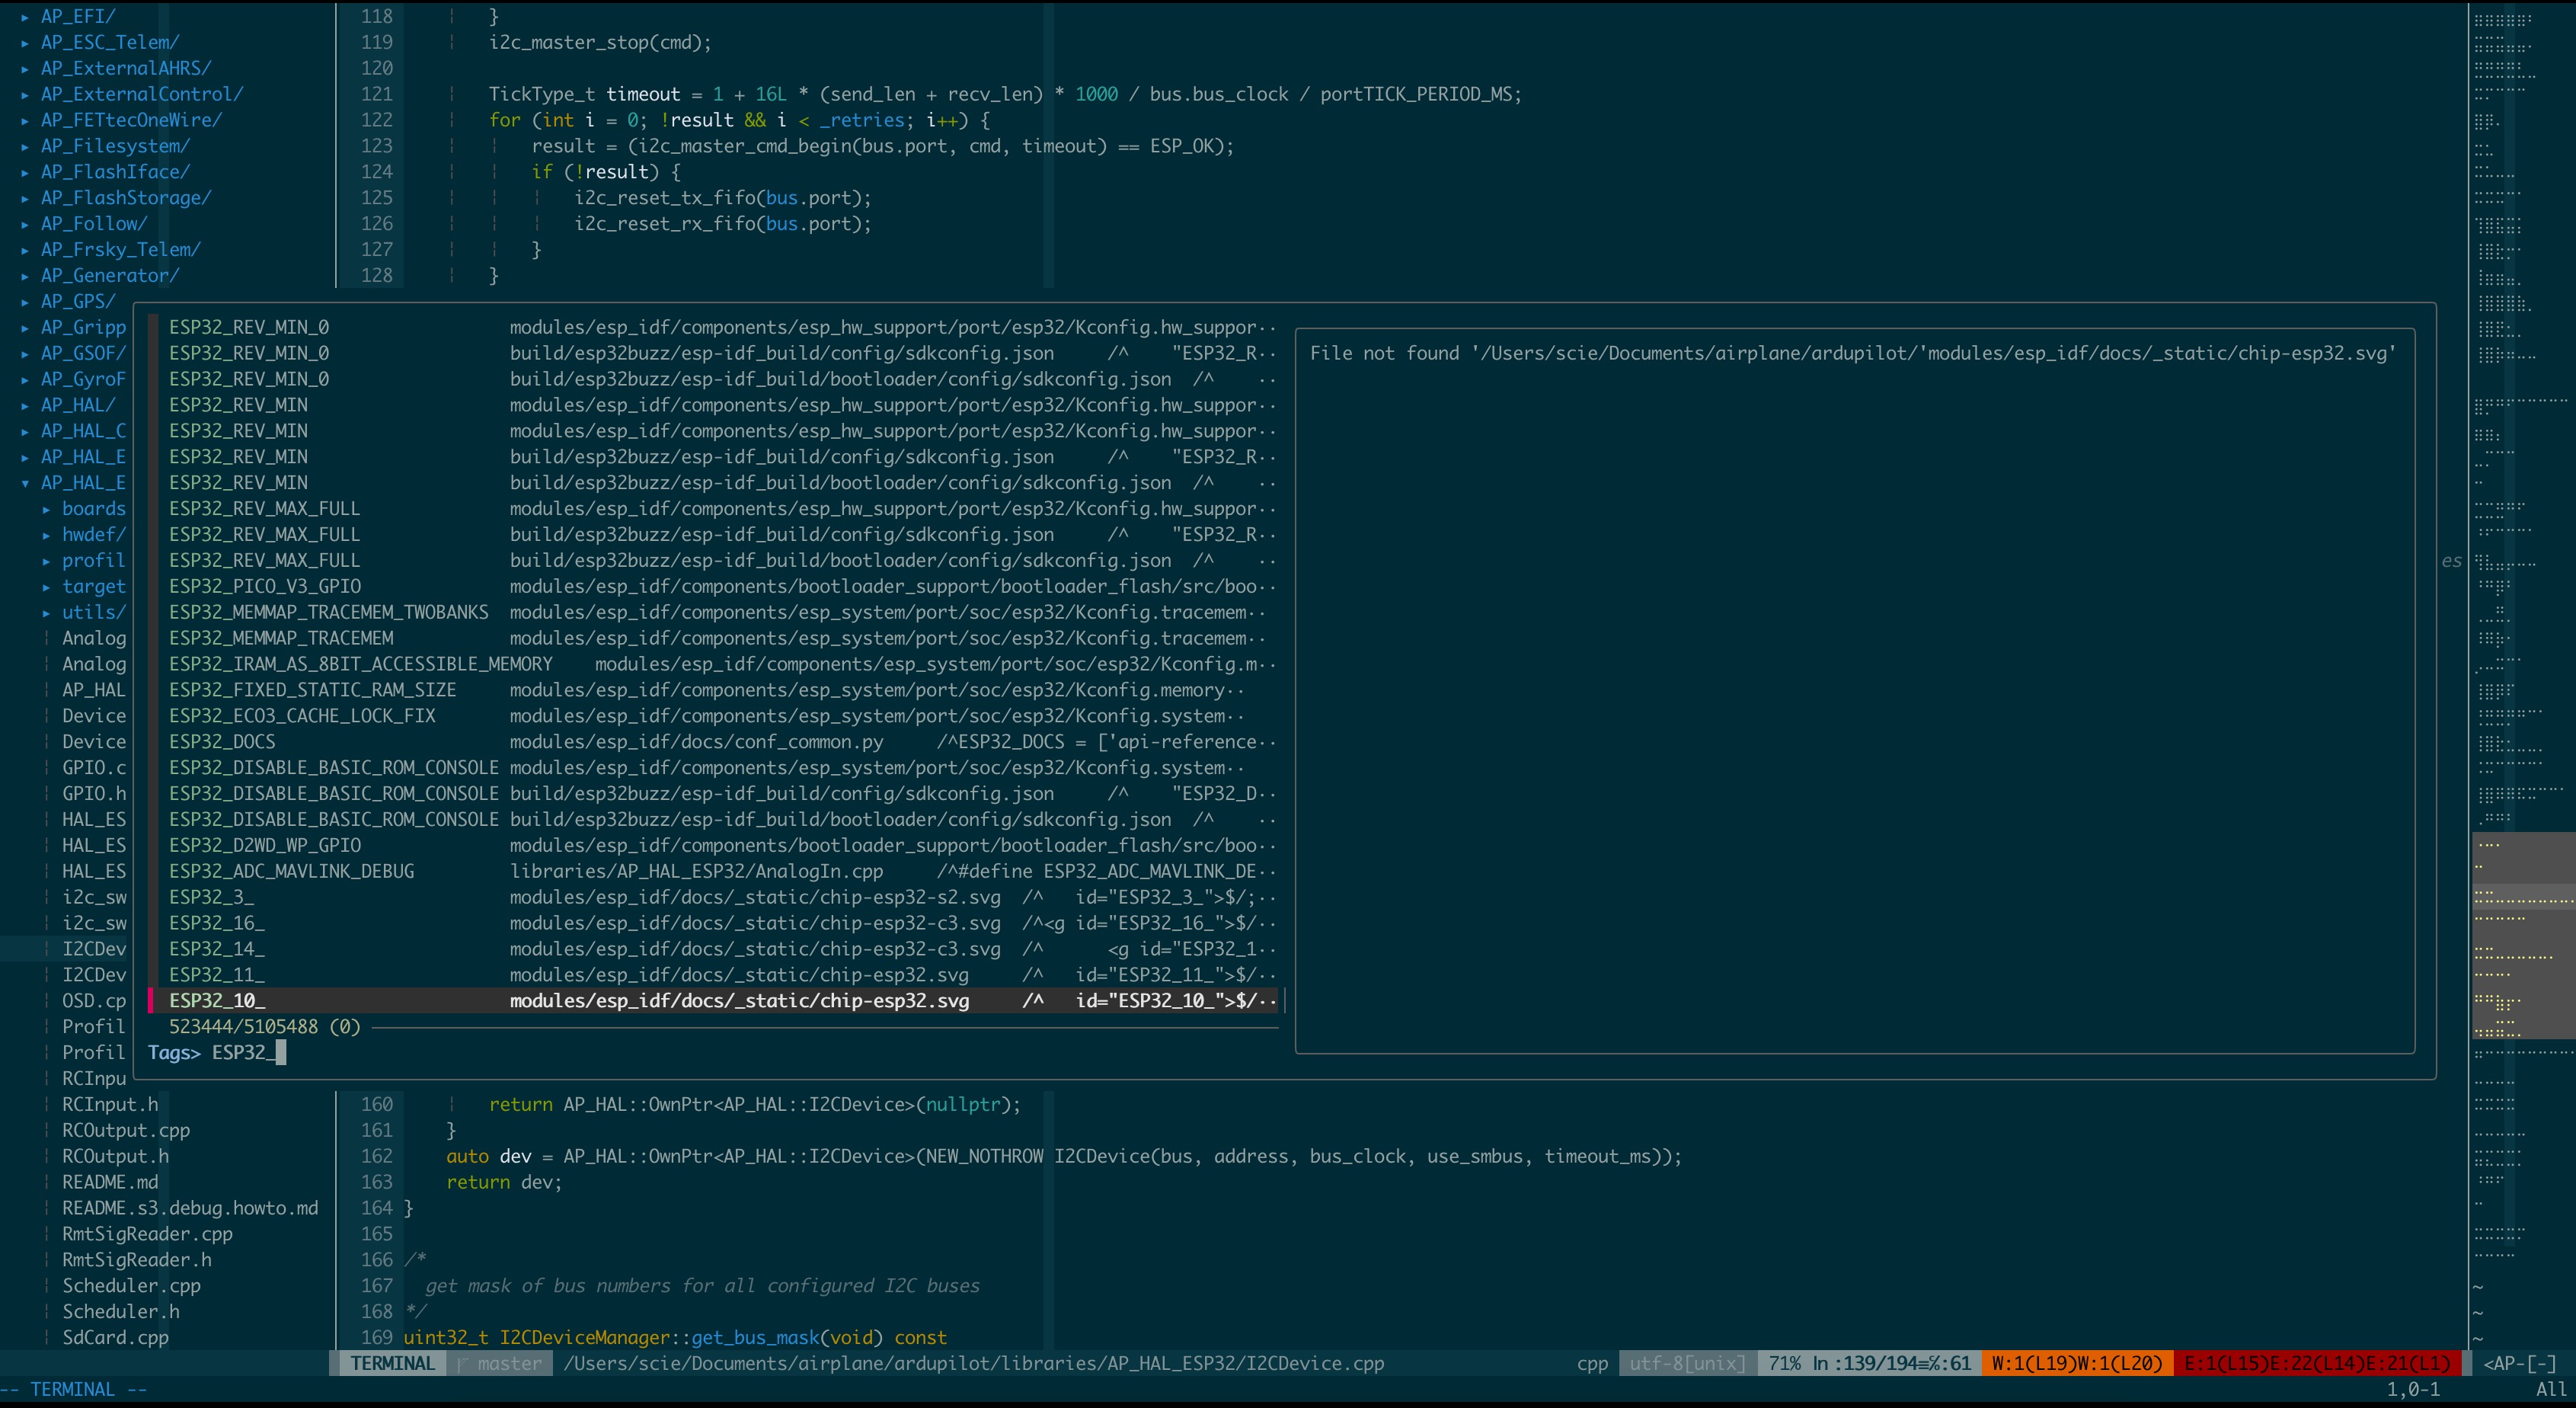
Hey, look at that. you have a crazy powerful editor. If you want to do more with it, you are sure able to. I have 20 plugins that I use between file explorers, minimaps, fuzzy finders, and more. You can just google for cool things and you'll find them. If you want inspiration, my vim config is on my github here
If you have any questions, feel free to reach out to me on discord (username: qyvo) as I am always happy to help. Anyway here are some screenshots of my neovim setup :)